Welcome guys to this 2nd blog for supabase and nextjs integration. In this blog, I will be telling you how to create, read, update, and delete data in a subbase with the help of next js.
🤔 If you don’t know how to set up supabase then you can read this blog 👇 How to connect Supabase and Nextjs
Crud function has three parts: Create, read, update, delete
📝Create
You can go to the index.js file in your next app. Then create one more folder named ‘components’ in which make a new file: ‘Card.jsx’
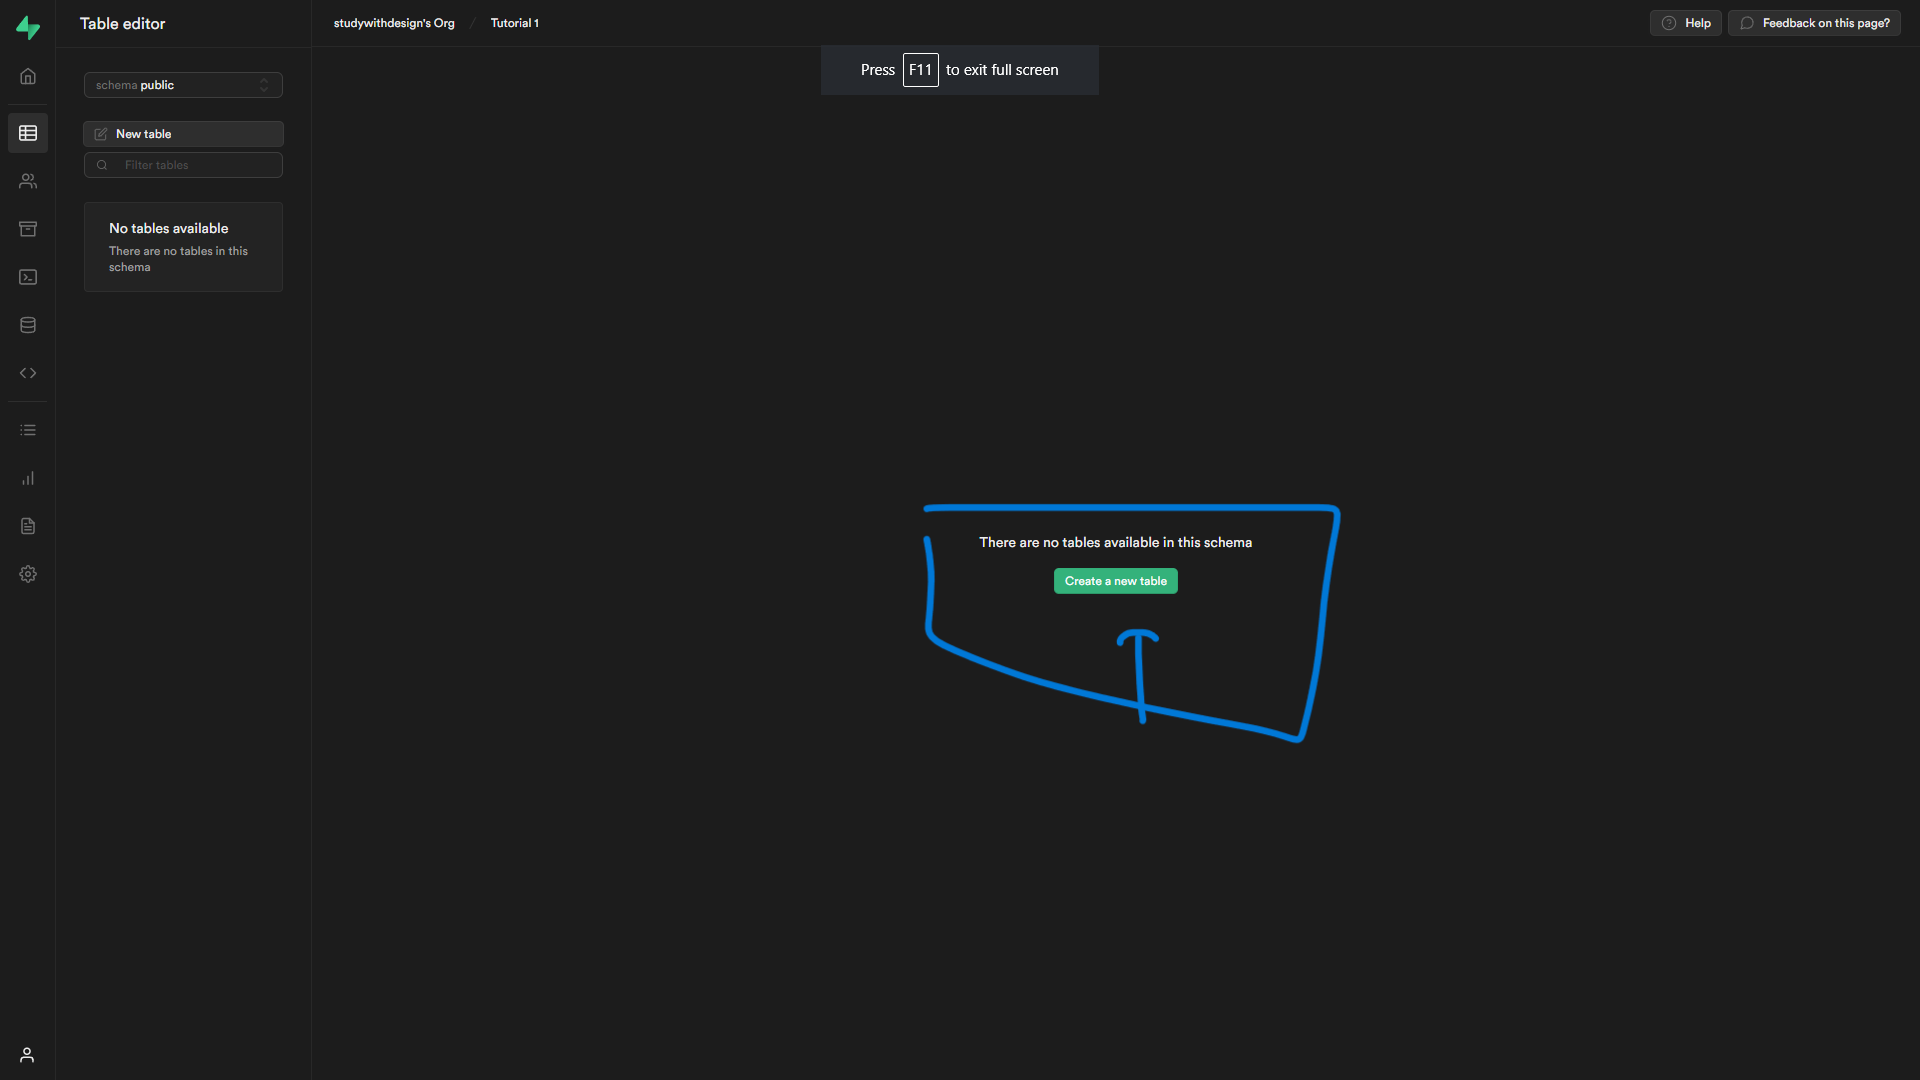
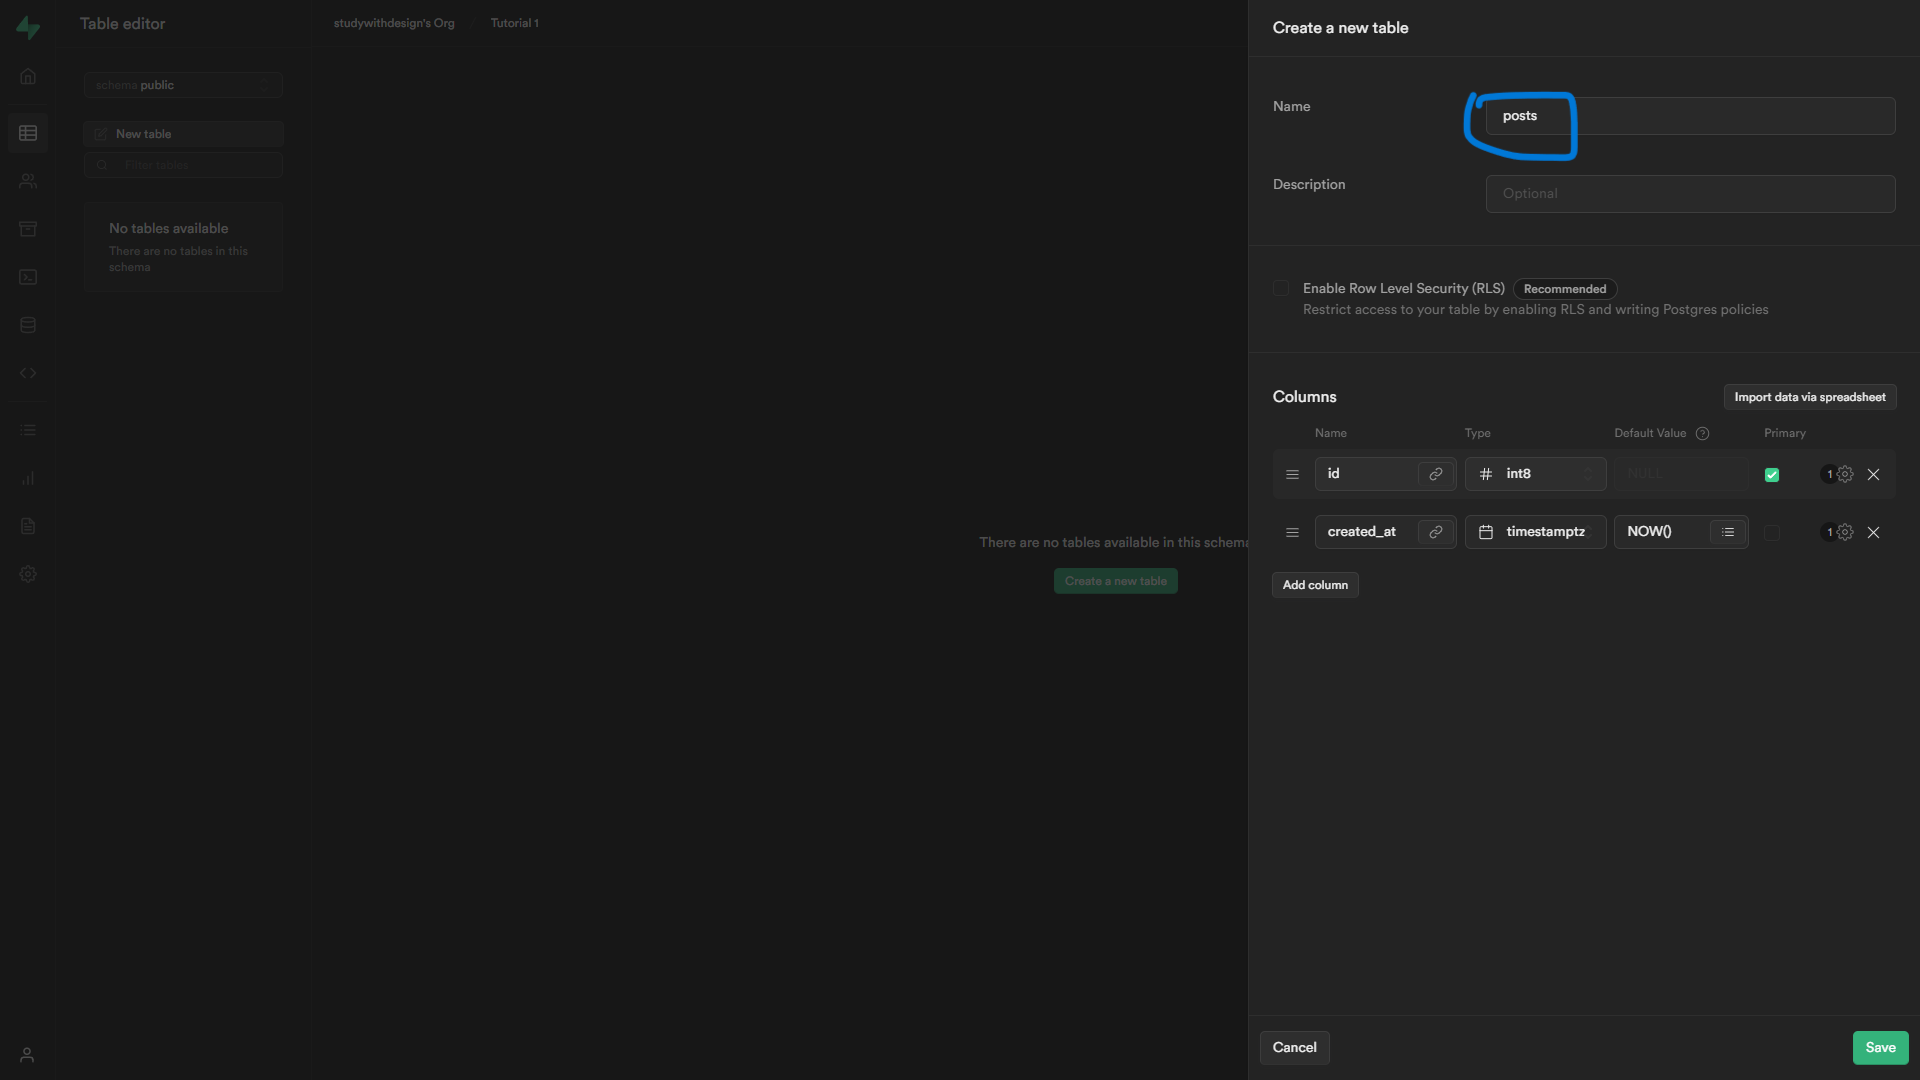
For creating rows in supabase. First, we need to make a table in supabase


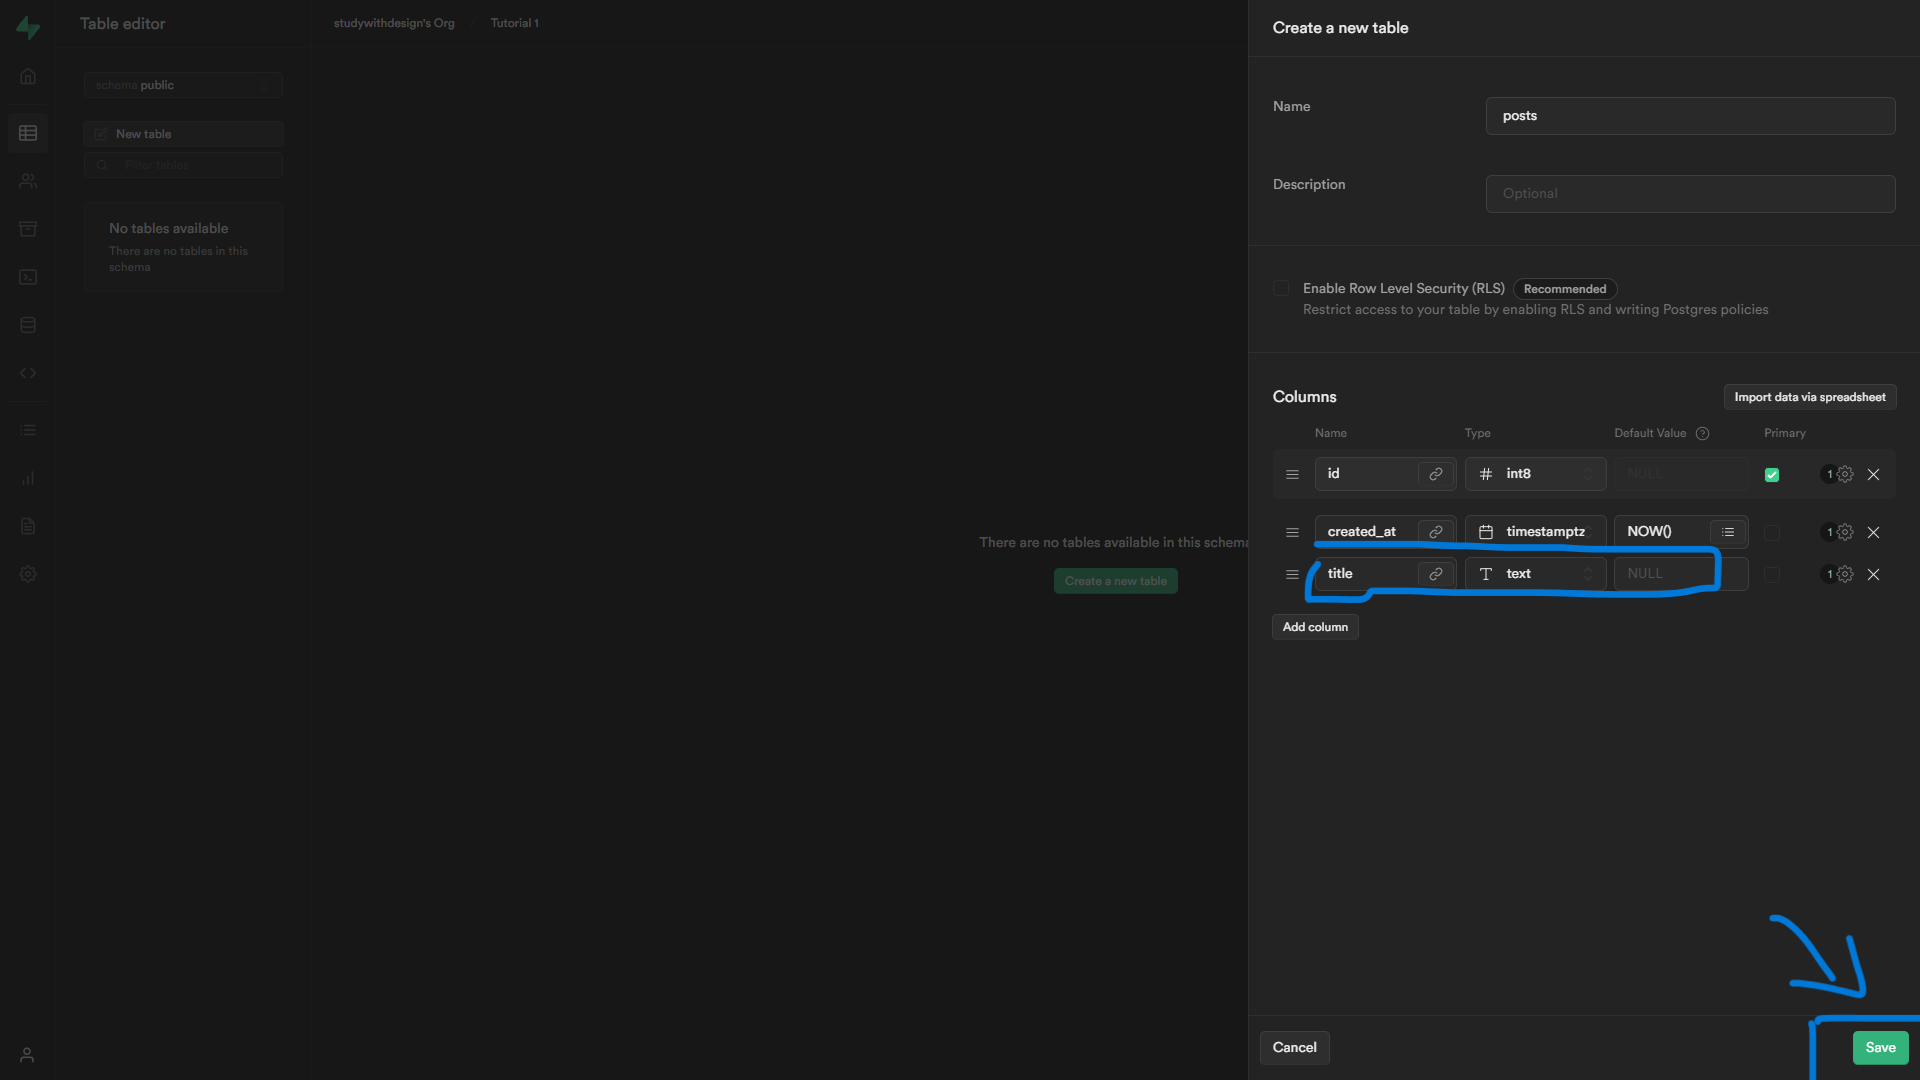
There will be three columns in the posts table:
id : primary key, type: int
created_at: type: timestamp, default: now()
title: type: text

Then, at last, click on the save button.

Now, the coding begins 🫠
In the Card.jsx, write the following code: %[gist.github.com/studywithdesign/34ea01affa2..
But what if you want to create data in bulk:
You can add new dicts in array
[
{title: title}, {title: title} //🤔 we have made one more title dict in the array
]
Now, comes the reading part:

Go to index.js file and then write this code. %[ gist gist.github.com/studywithdesign/1b9832810fd..
✍️Update
In supabase update function. We need to pass two have two things
The data that we want to change
The id or any column for choosing which row to update
Now comes the last part.
⛔Delete
👋So, by this our code ends. Let’s meet for the next project.
