How to connect Supabase and Nextjs
This blog will teach you in integrating supabase with nextjs. You can also watch videos at the end. This blog will teach you with images.
👋beautiful people in this first tutorial of connecting next js and supabase.
Step1: Go to supabase.com and click on start project and then this 👇page will appear.
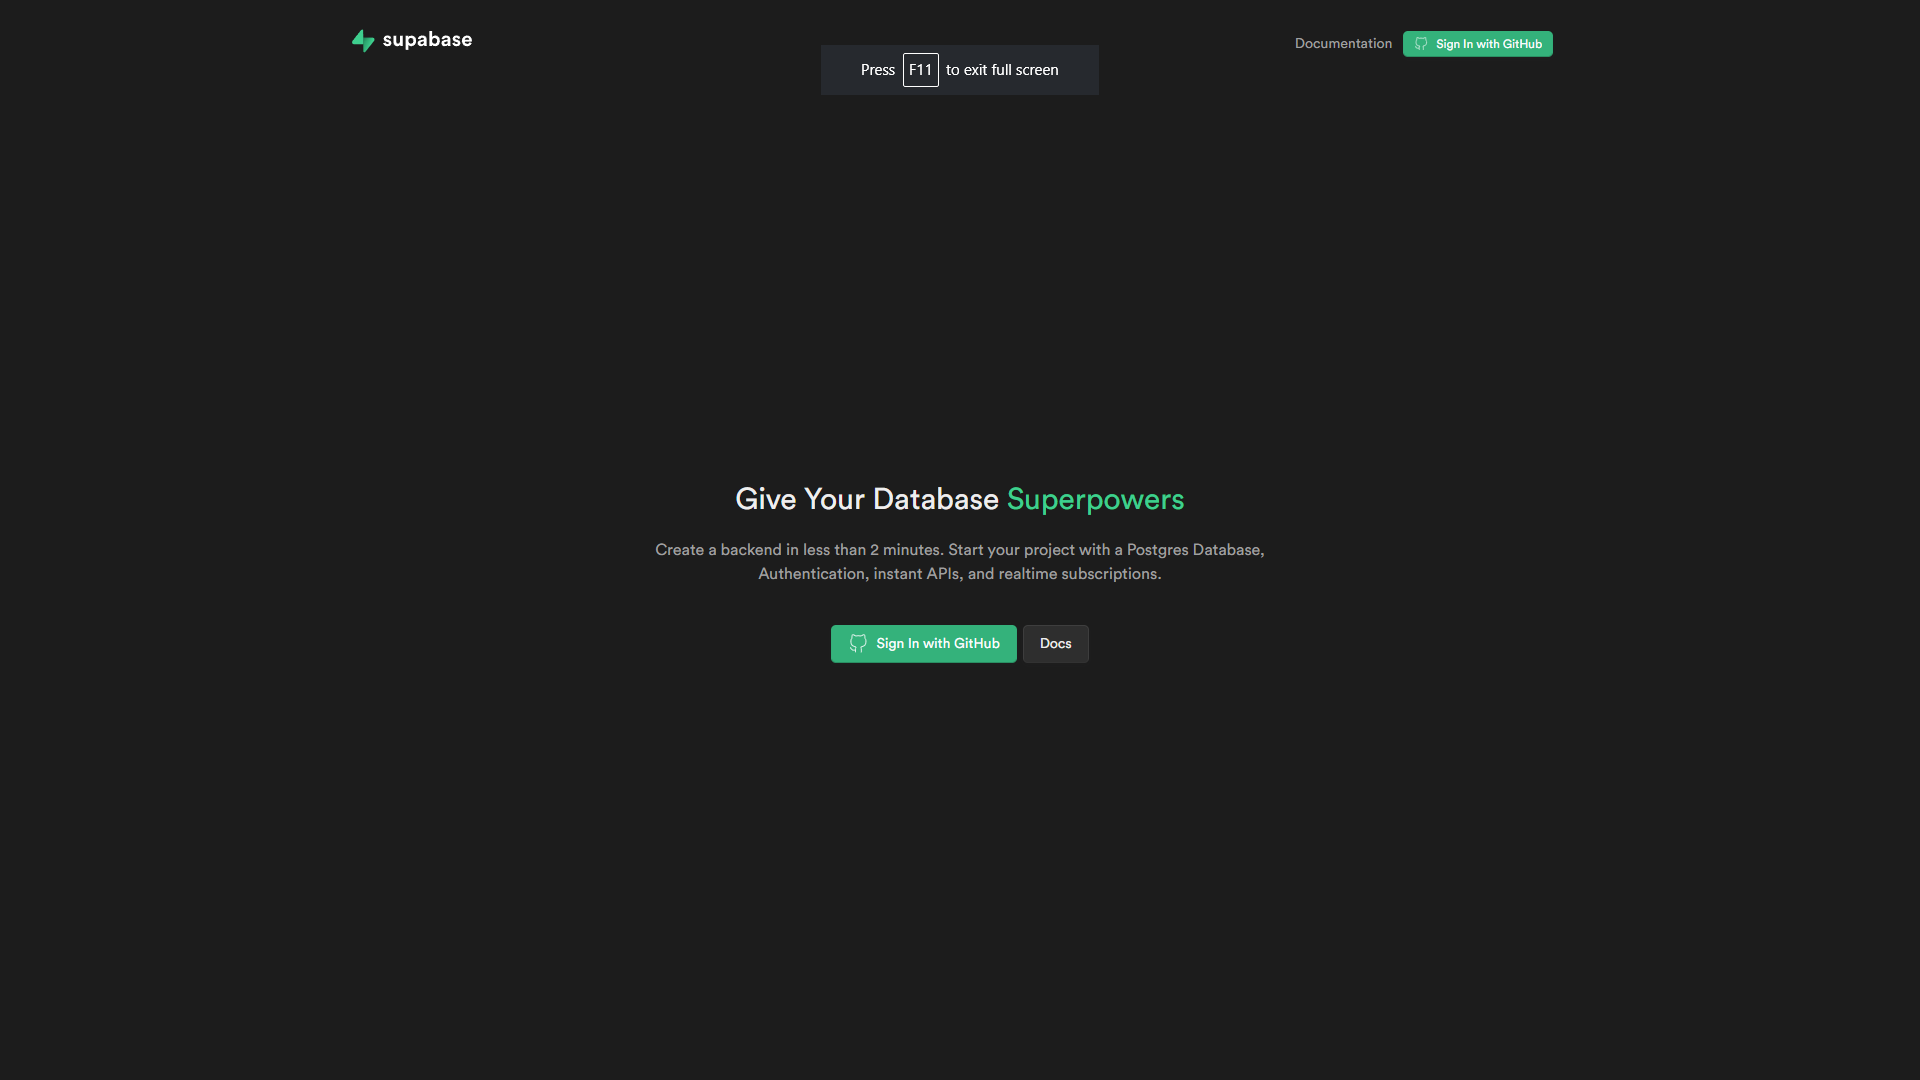
You can be signing by creating GitHub account on github.com and then go back to supabase and sign in.
Step2: Click on New Project
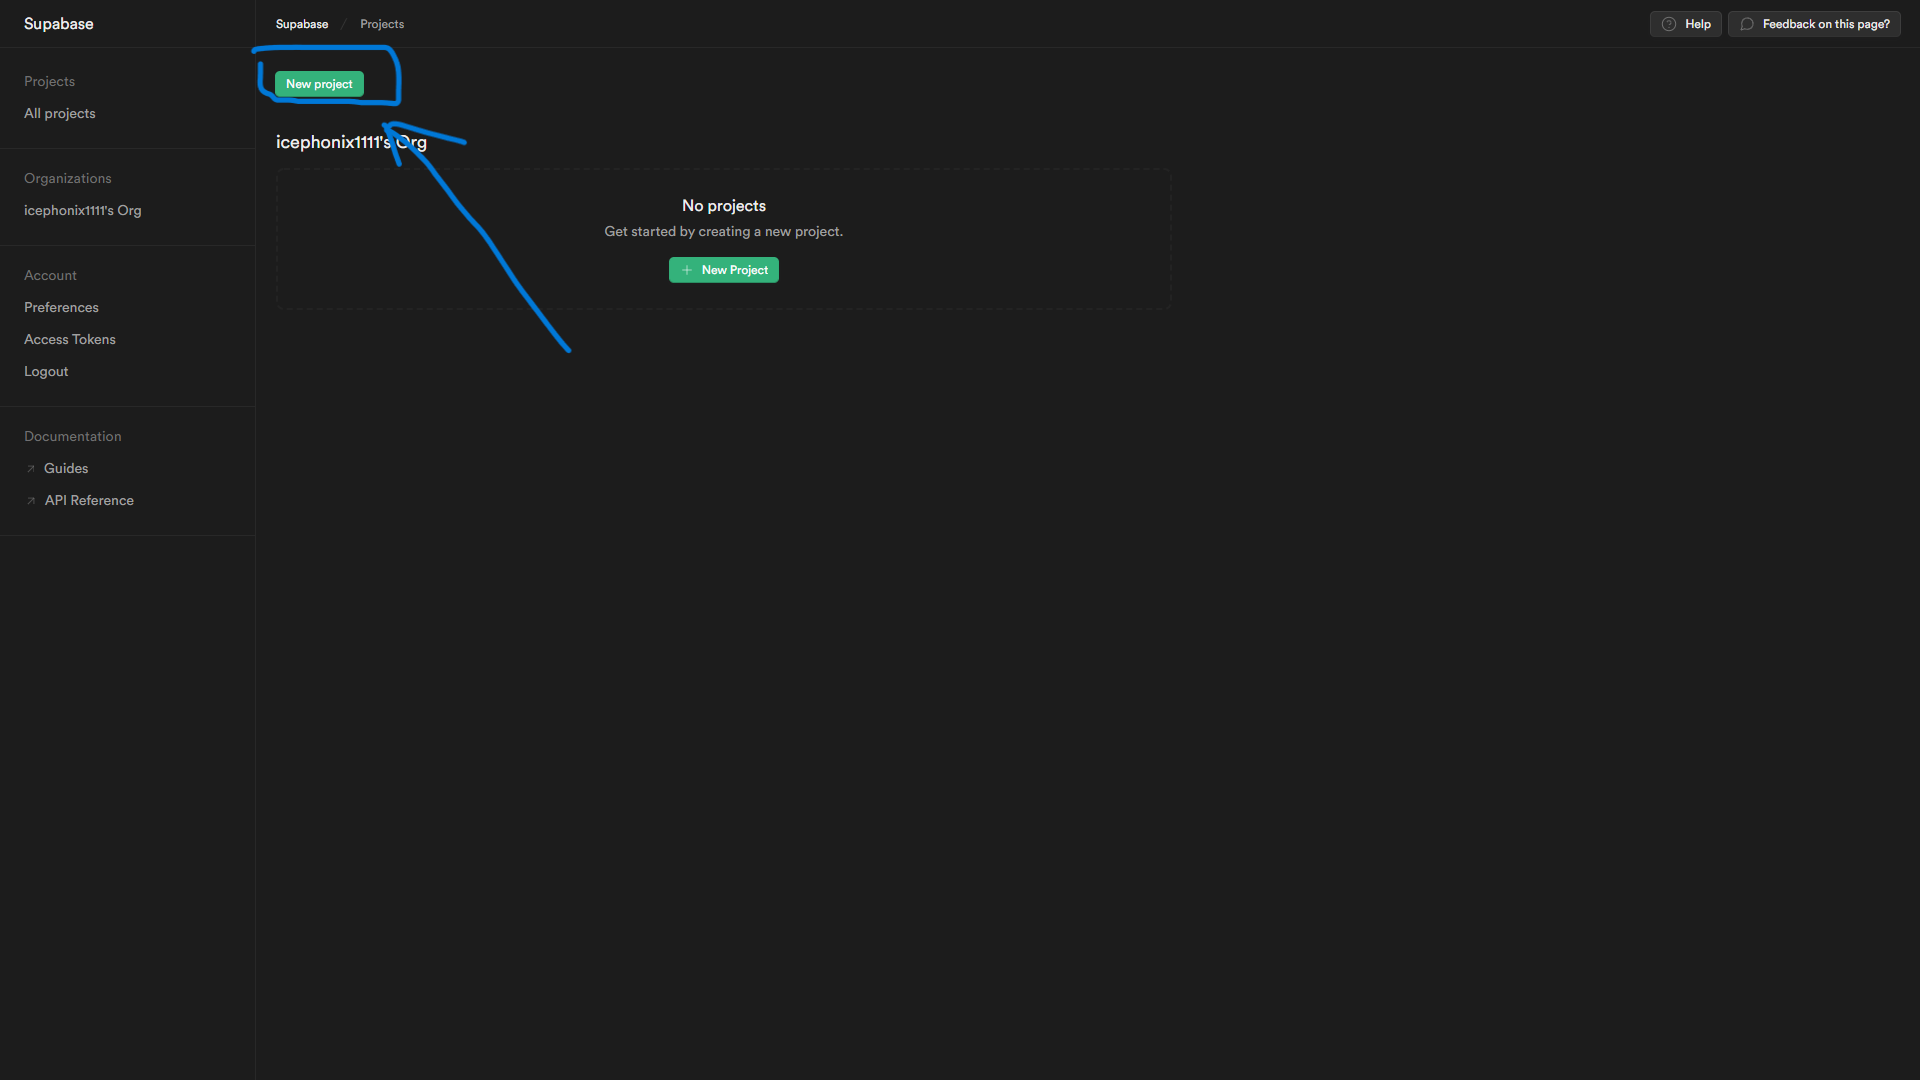
Then it will ask you to create a new project.
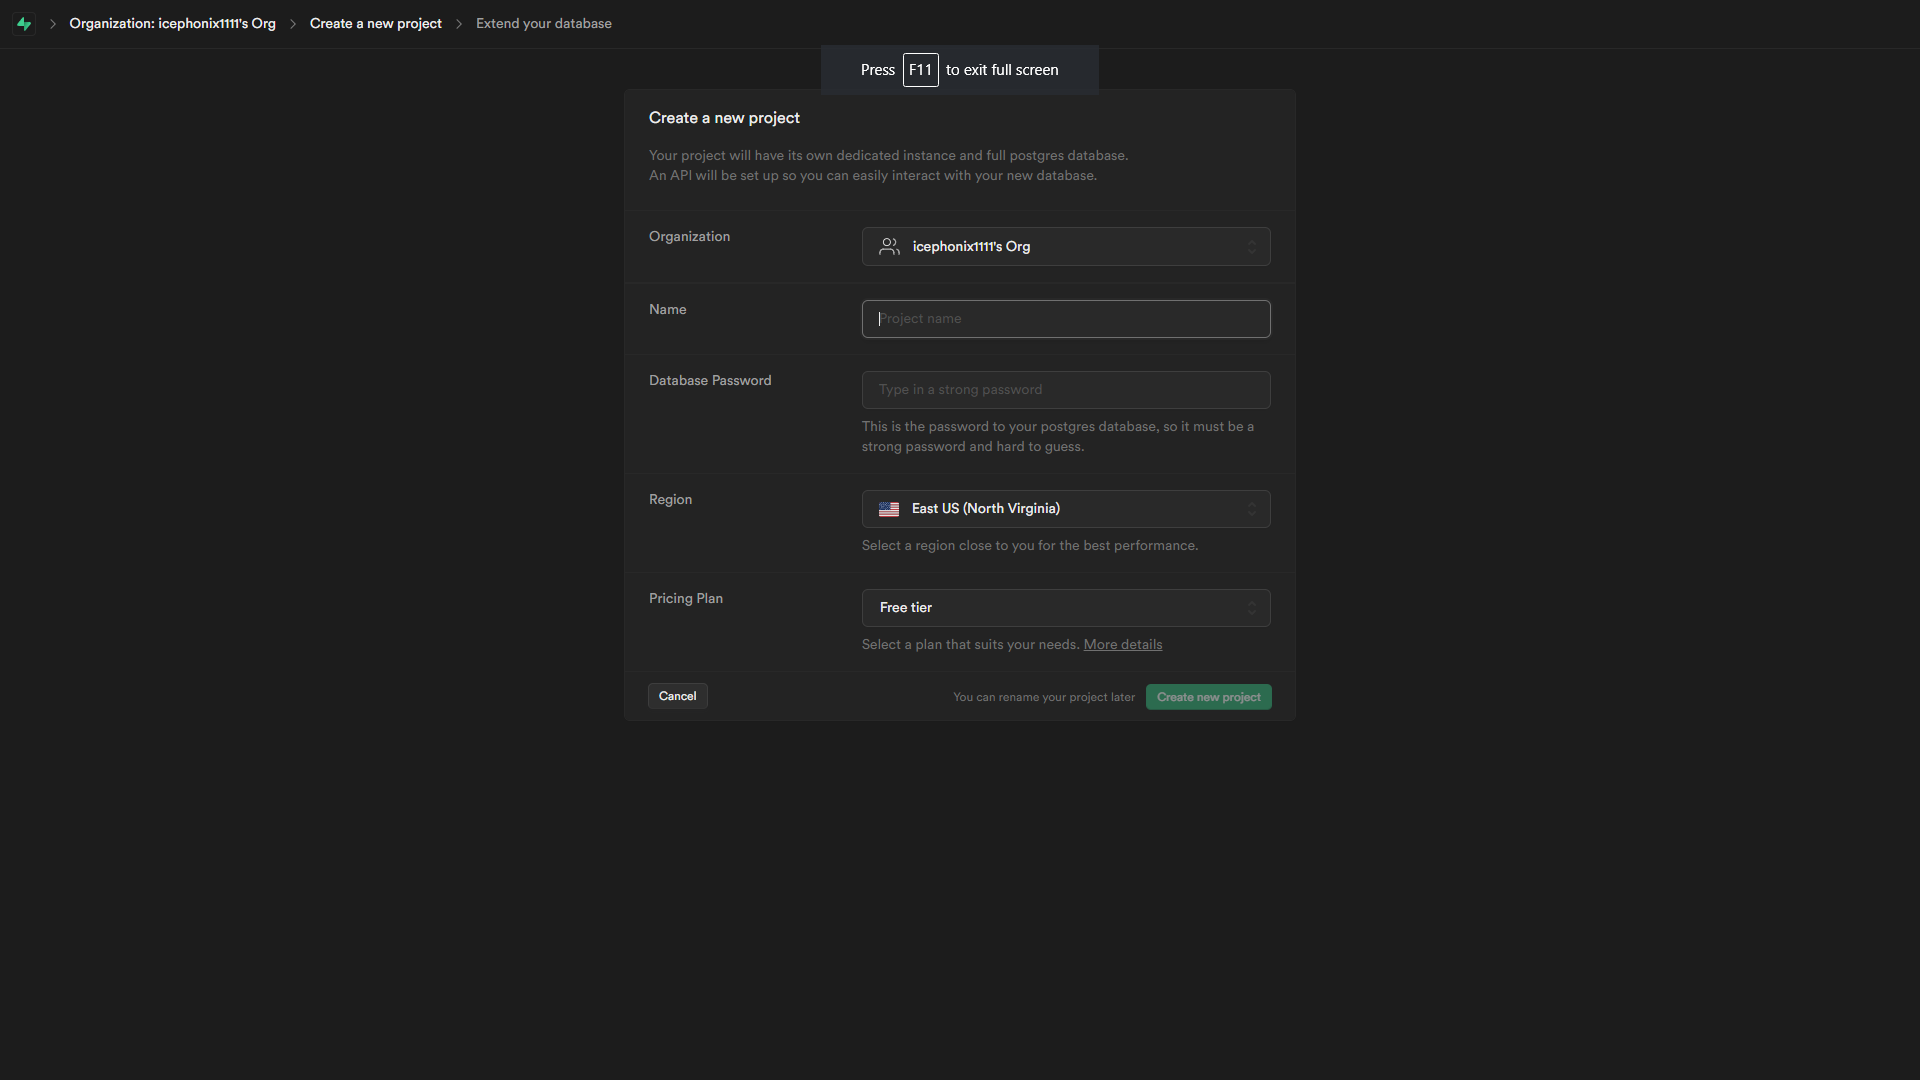
Name: You can type any name of the database. You can also change the name later on.
Database Password: This is a permanent password so please don’t do any mistakes here. You cannot change or get the password of the database again. So save it somewhere.
Region: Select any region that is near you. This will boost your performance.
Project Tier: For now, just select the free tier, and when you need you can also upgrade it.
Then click create a new project. It will take some time.
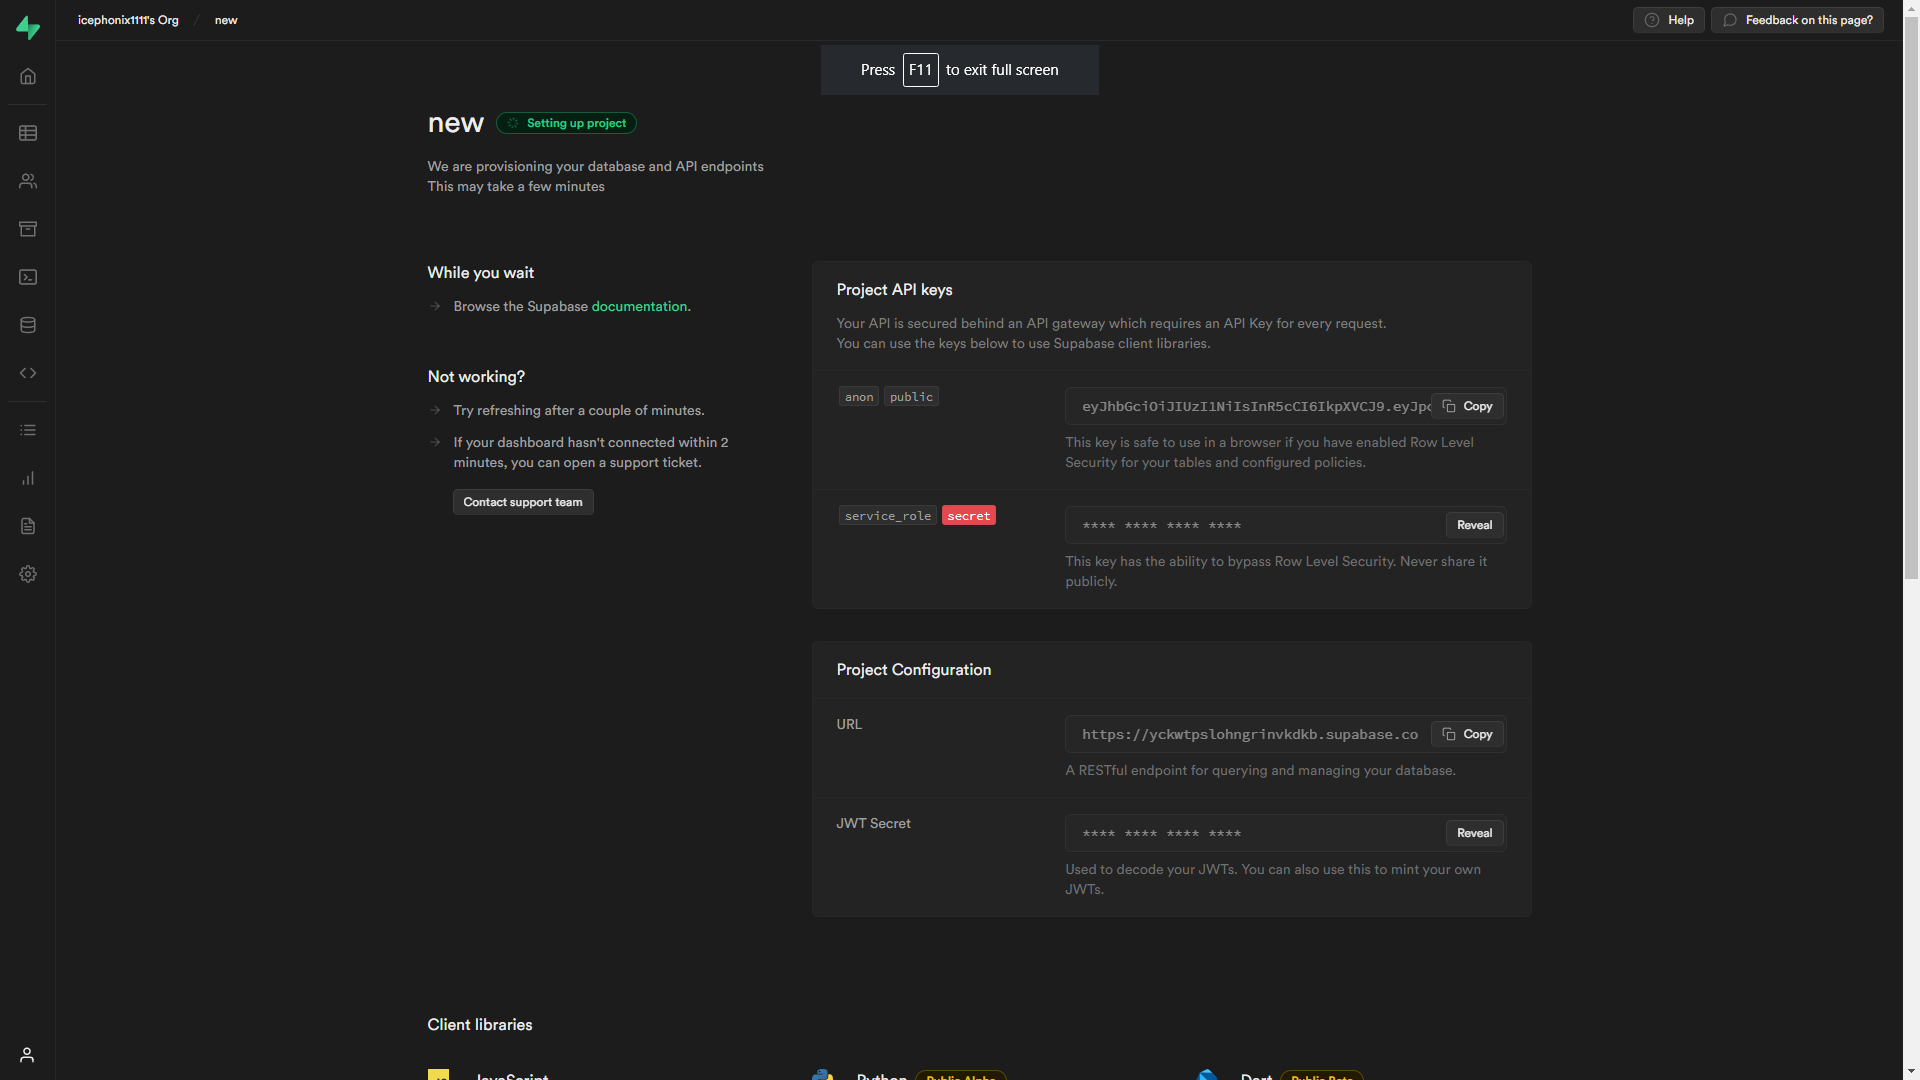
So, our supabase setup has been done.
Let’s create a next-app by typing
npx create next-app **[name of the app]**
After the app is created. Go to the directory of the app. Then create a new file
.env.local
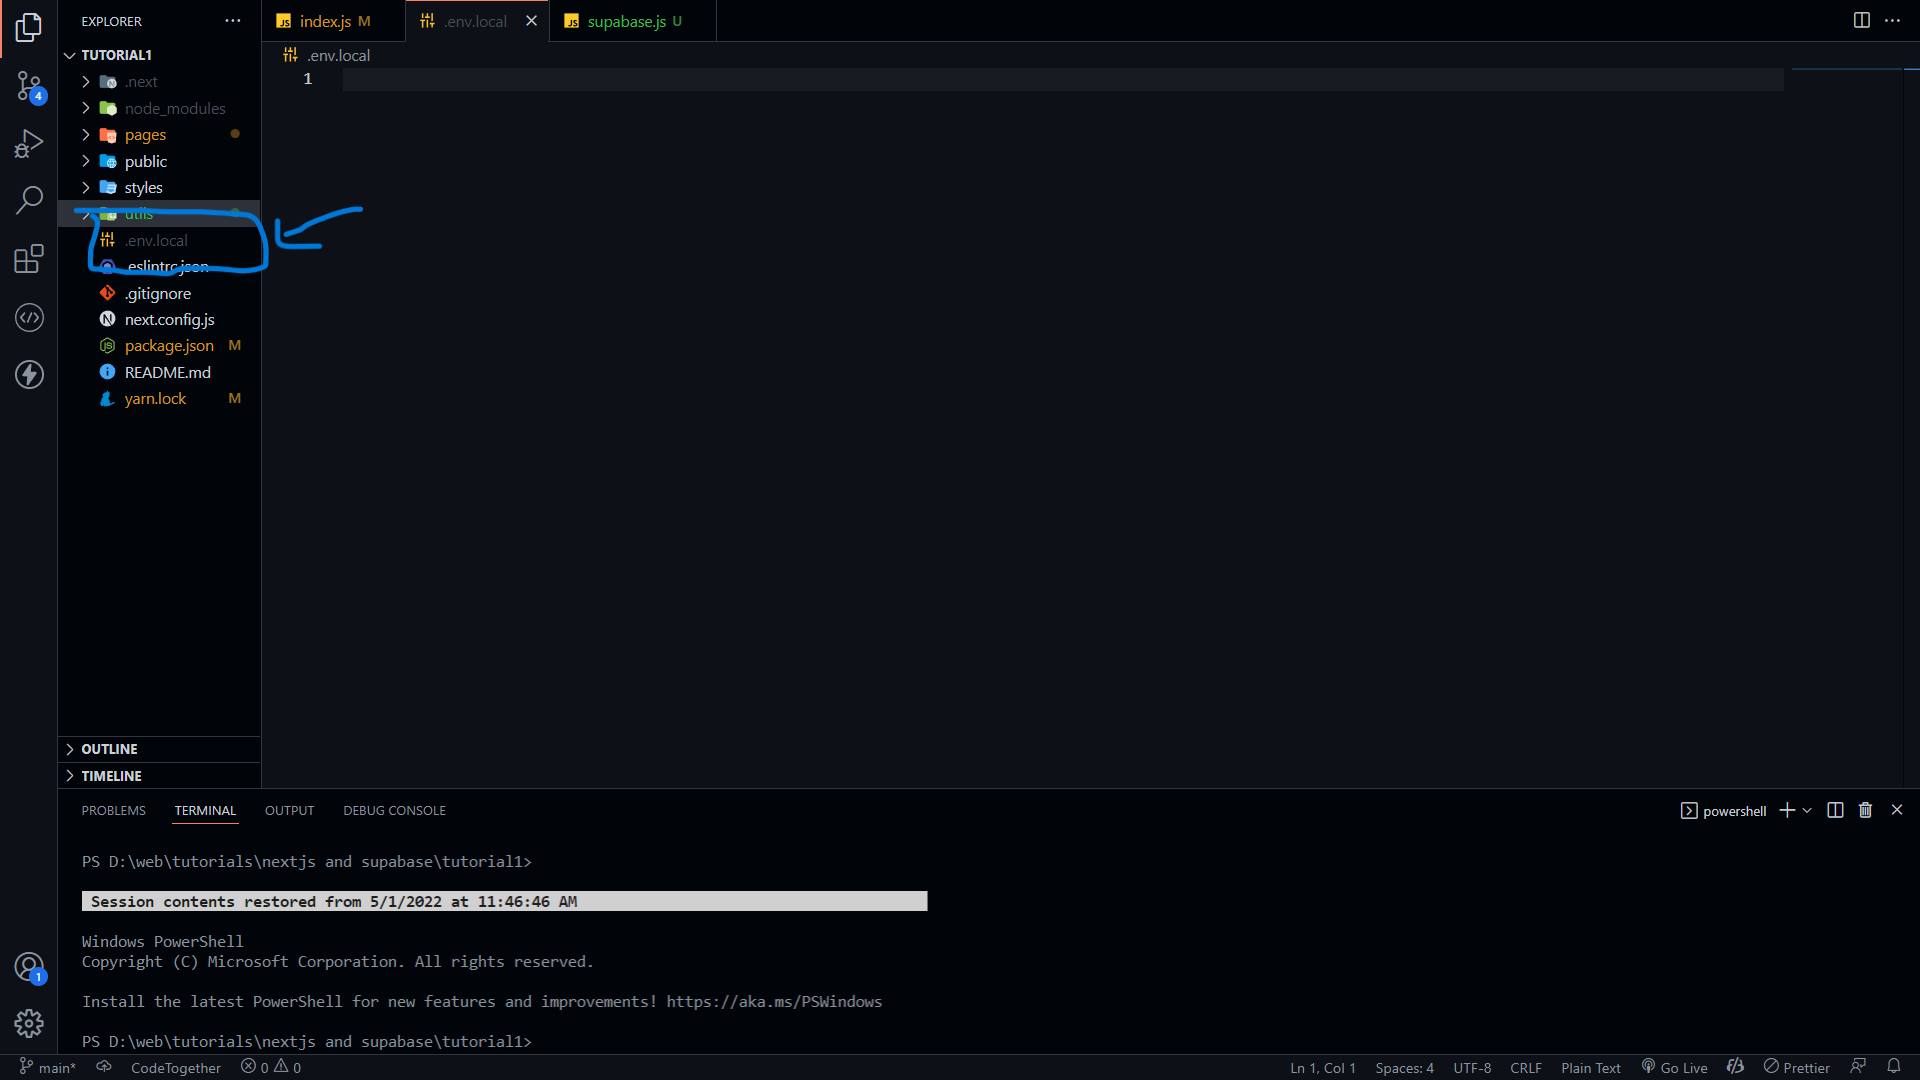
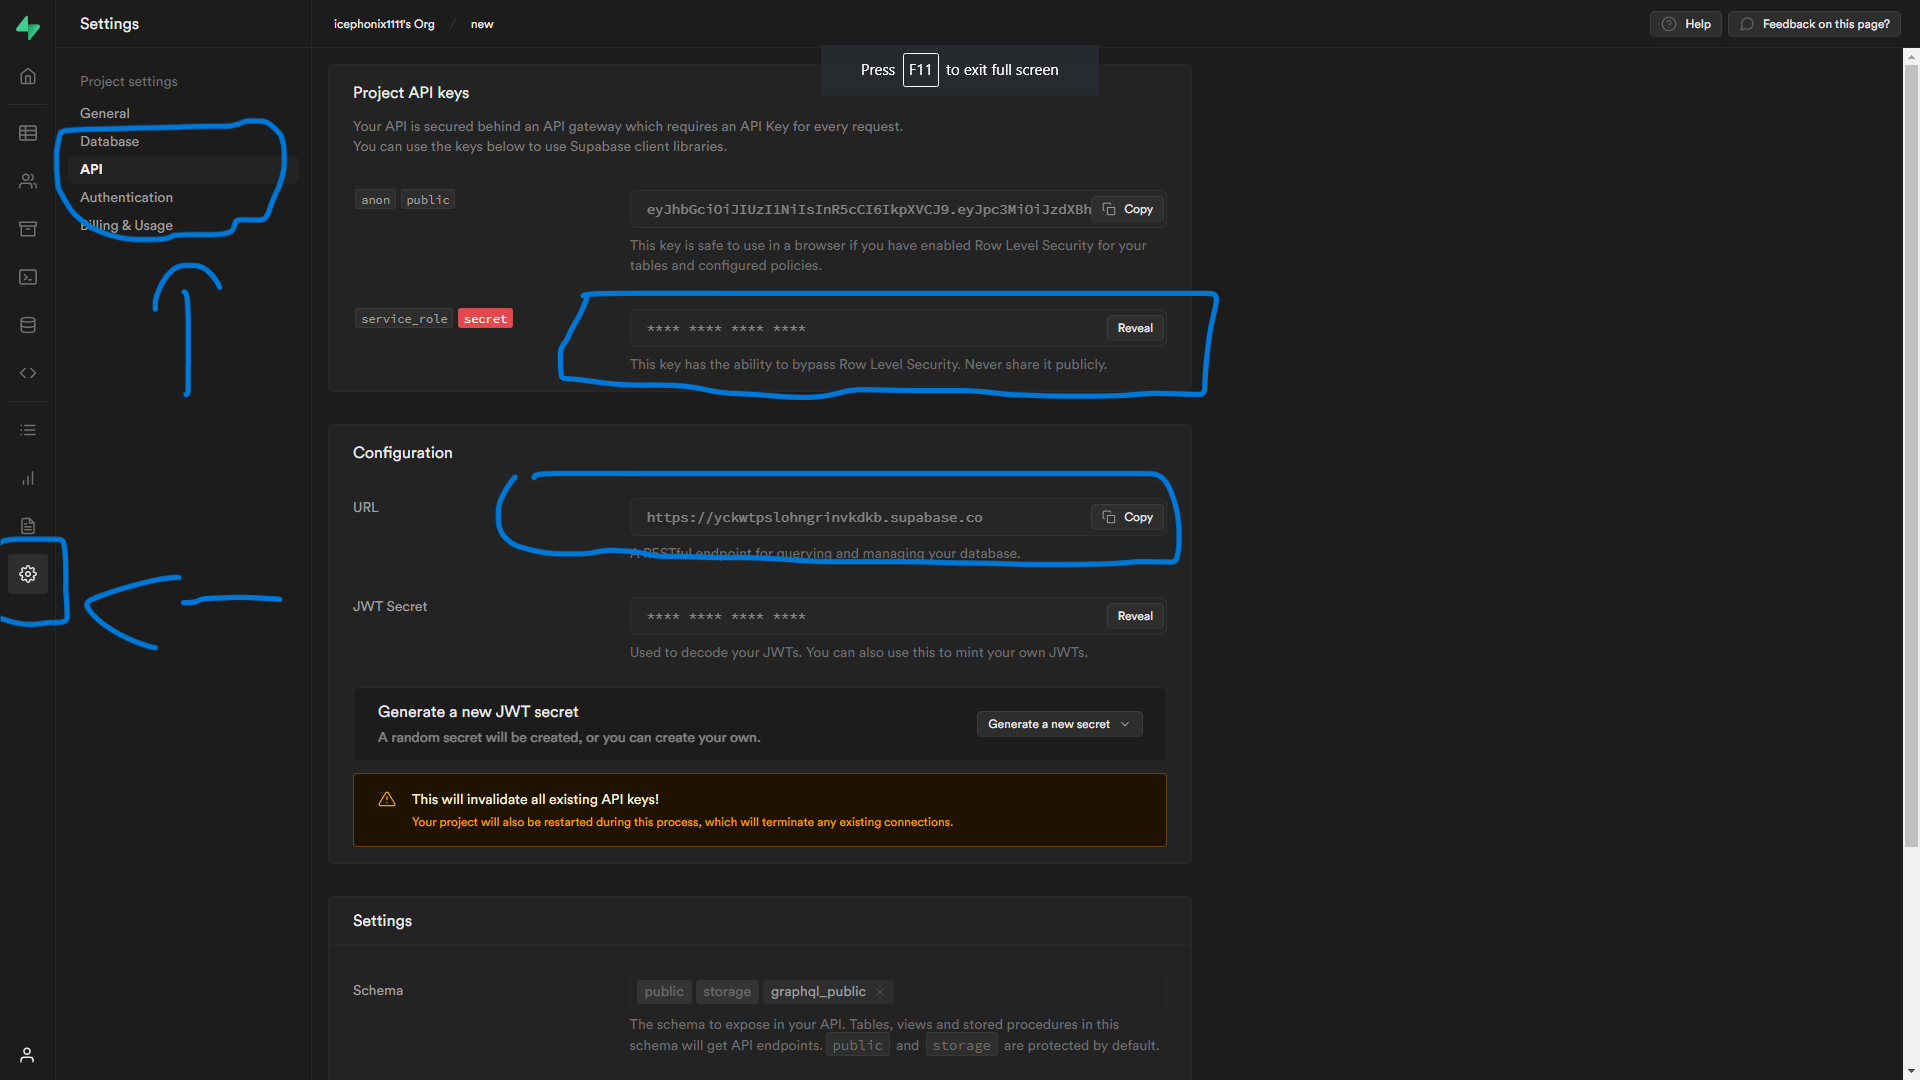
First, copy the URL and key of the project
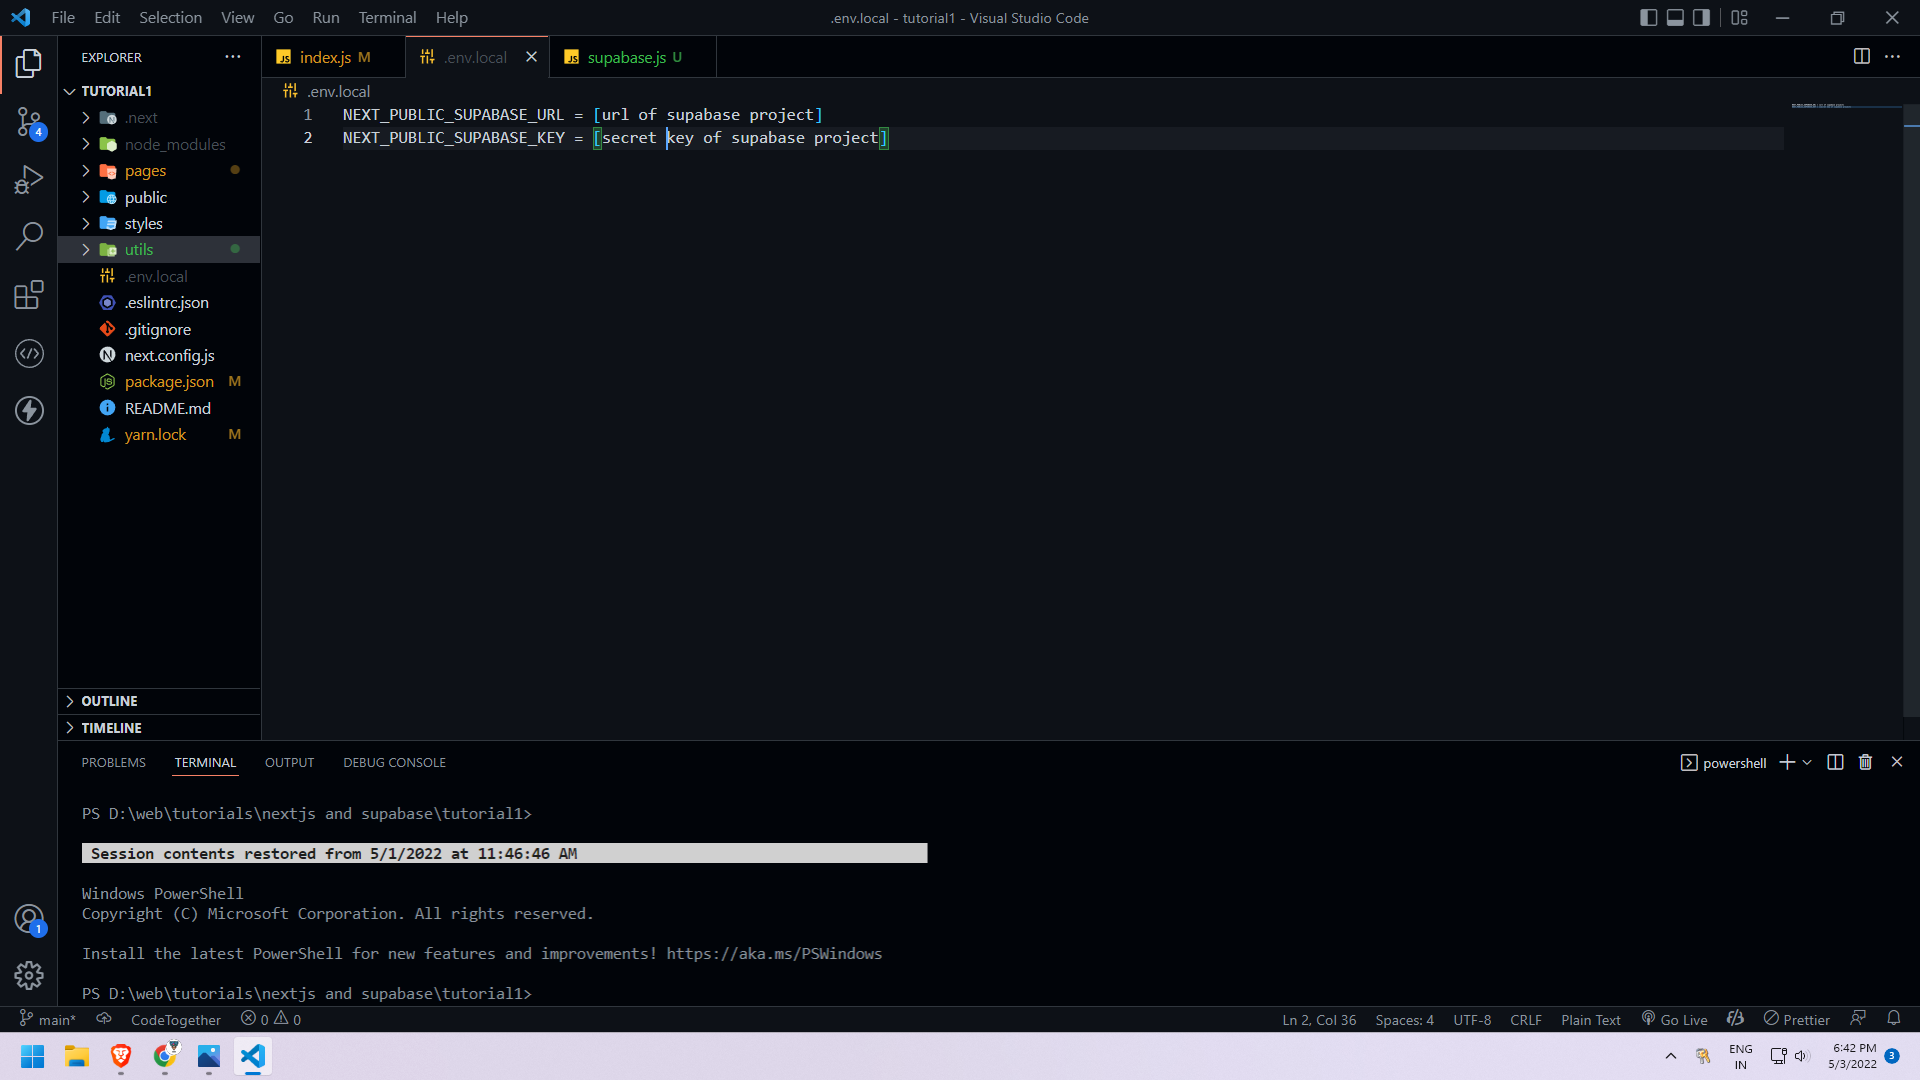
Then type the below👇 code
NEXT_PUBLIC_SUPABASE_URL = [url of supabase project]

NEXT_PUBLIC_SUPABASE_KEY = [secret key of supabase project]
Then download @supabase/supabase-js 👇
npm install @supabase/supabase-js
Then create a new folder name utils in which create a new file — supabase.js
*utils*/**supabase.js**
Then write this code in your supabase.js file
import { createClient } from "@supabase/supabase-js";


const url = process.env.NEXT_PUBLIC_SUPABASE_URL;

const key = process.env.NEXT_PUBLIC_SUPABASE_KEY;

export const supabase = createClient(url, key);
Ok, the integration is done. %[youtube.com/watch?v=Q-aWIxPAcYY]
