How to use supabase database in flutter || 🔴 Part - 1

Welcome friends to this blog post where you will learn how to use the supabase database in a flutter app.
For people who understand Hindi:
Step1: Go to supabase. com and click on start project and then this 👇page will appear.
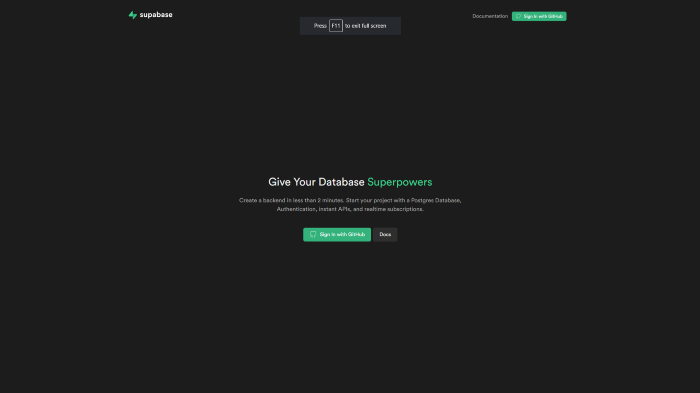
You can be signing by creating a GitHub account on github.com and then go back to supabase and sign in.
Step2: Click on New Project
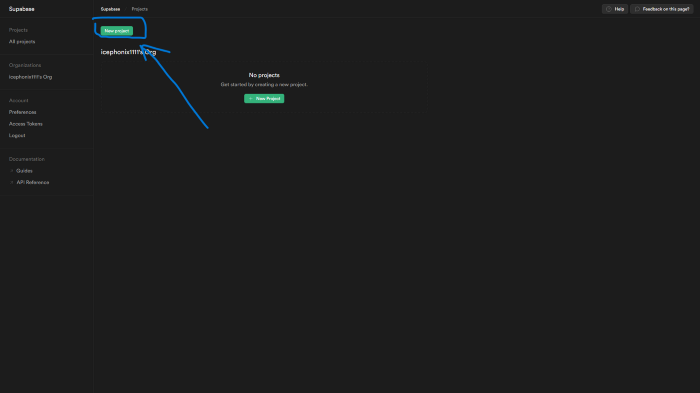
Then it will ask you to create a new project.
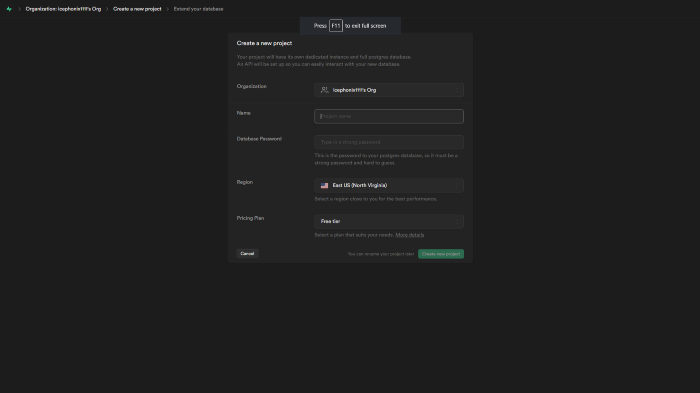
Name: You can type any name of the database. You can also change the name later on.
Database Password: This is a permanent password so please don’t do any mistakes here. You cannot change or get the password of the database again. So save it somewhere.
Region: Select any region that is near you. This will boost your performance.
Project Tier: For now, just select the free tier, and when you need you can also upgrade it.
Then click create a new project. It will take some time.
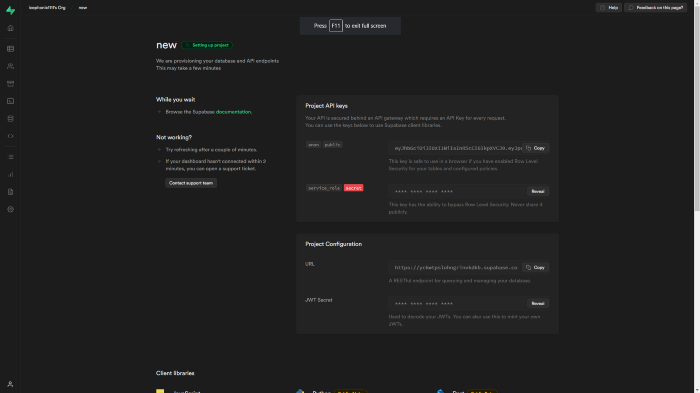
So, our supabase setup has been done.
Now, we need to set up a supabase in our flutter app.
step1: Go to your flutter app and then make a .env file in root dir.
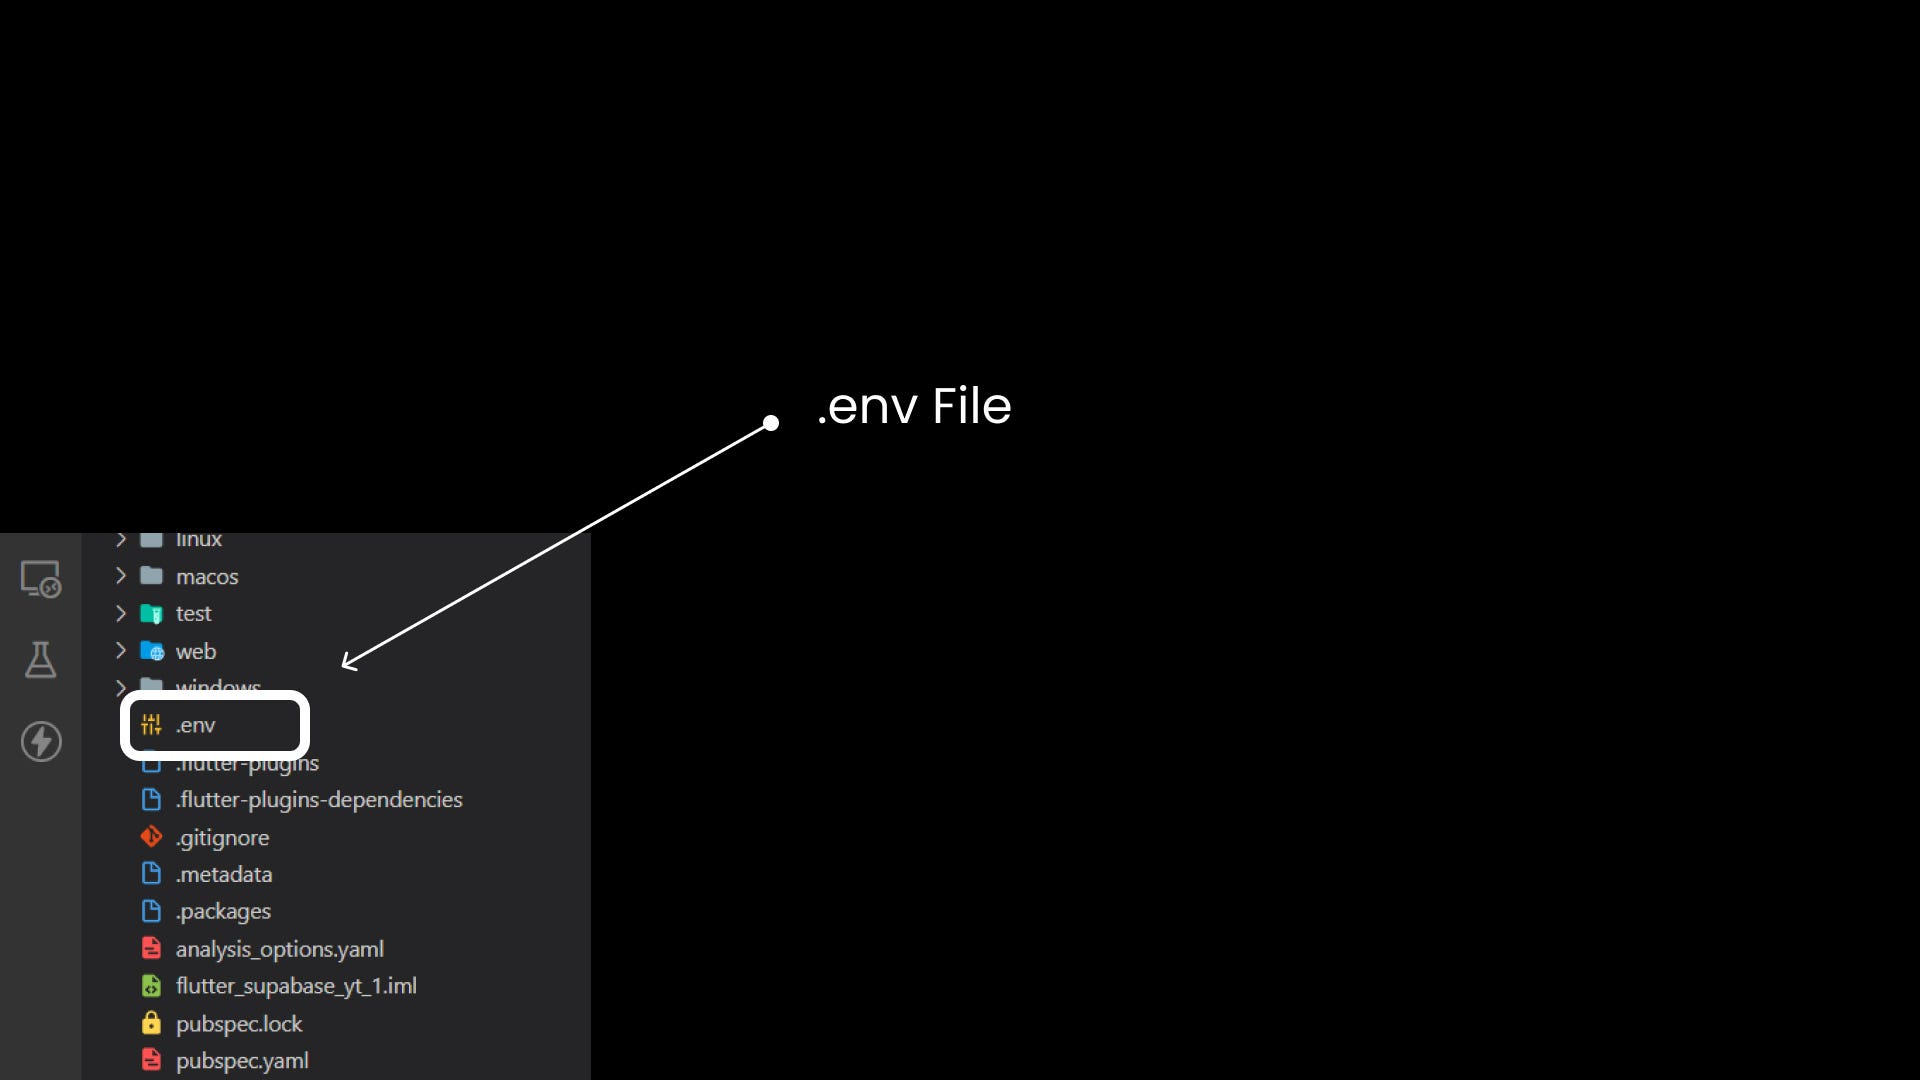
write these statements in your flutter .env file
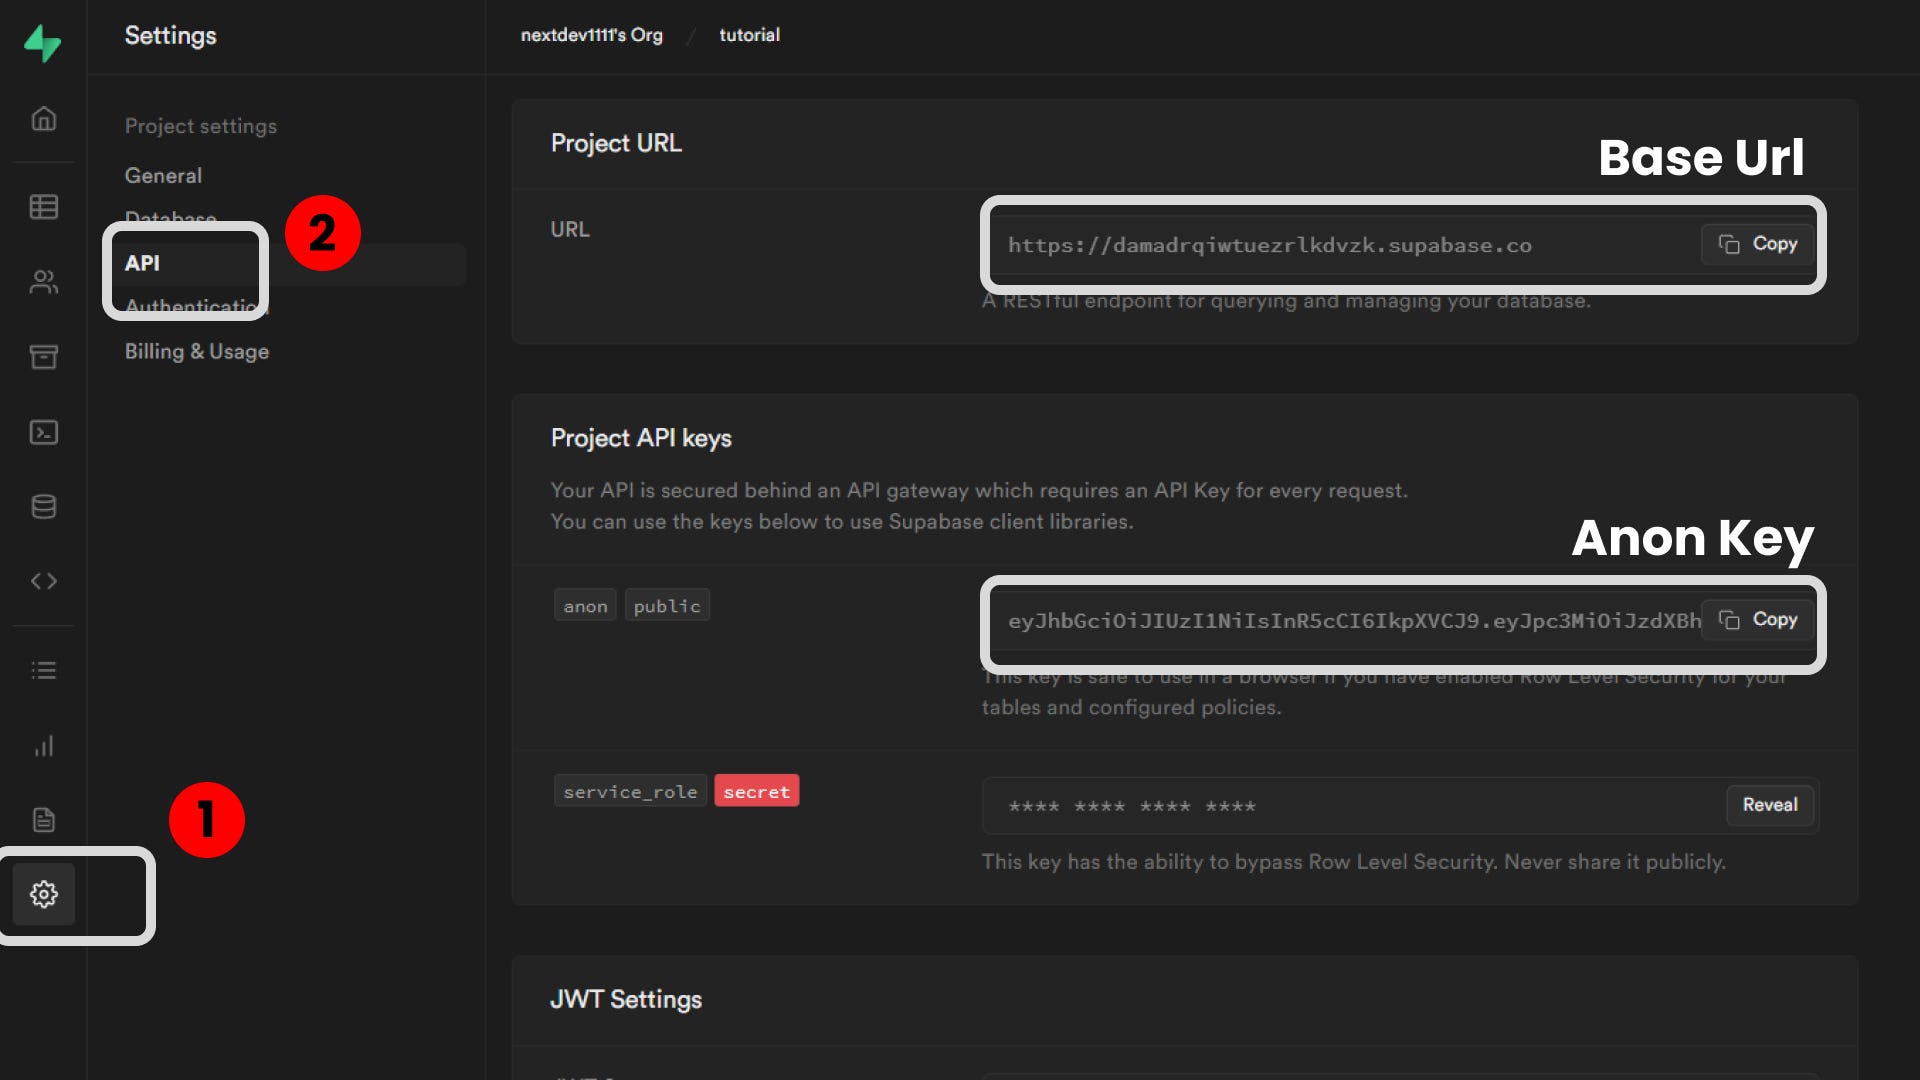
SUPABASE_BASE_URL =  [paste the url of your project]
SUPABASE_BASE_KEY = [paste the anon key of your project]
You can find these here
Then you need to download these two packages in flutter supabase_flutter | Flutter Package flutter_dotenv | Flutter Package
Then you need to configure .env file in your pubspec.yaml.
  assets:
    - .env
  #   - images/a_dot_burr.jpeg
  #   - images/a_dot_ham.jpeg
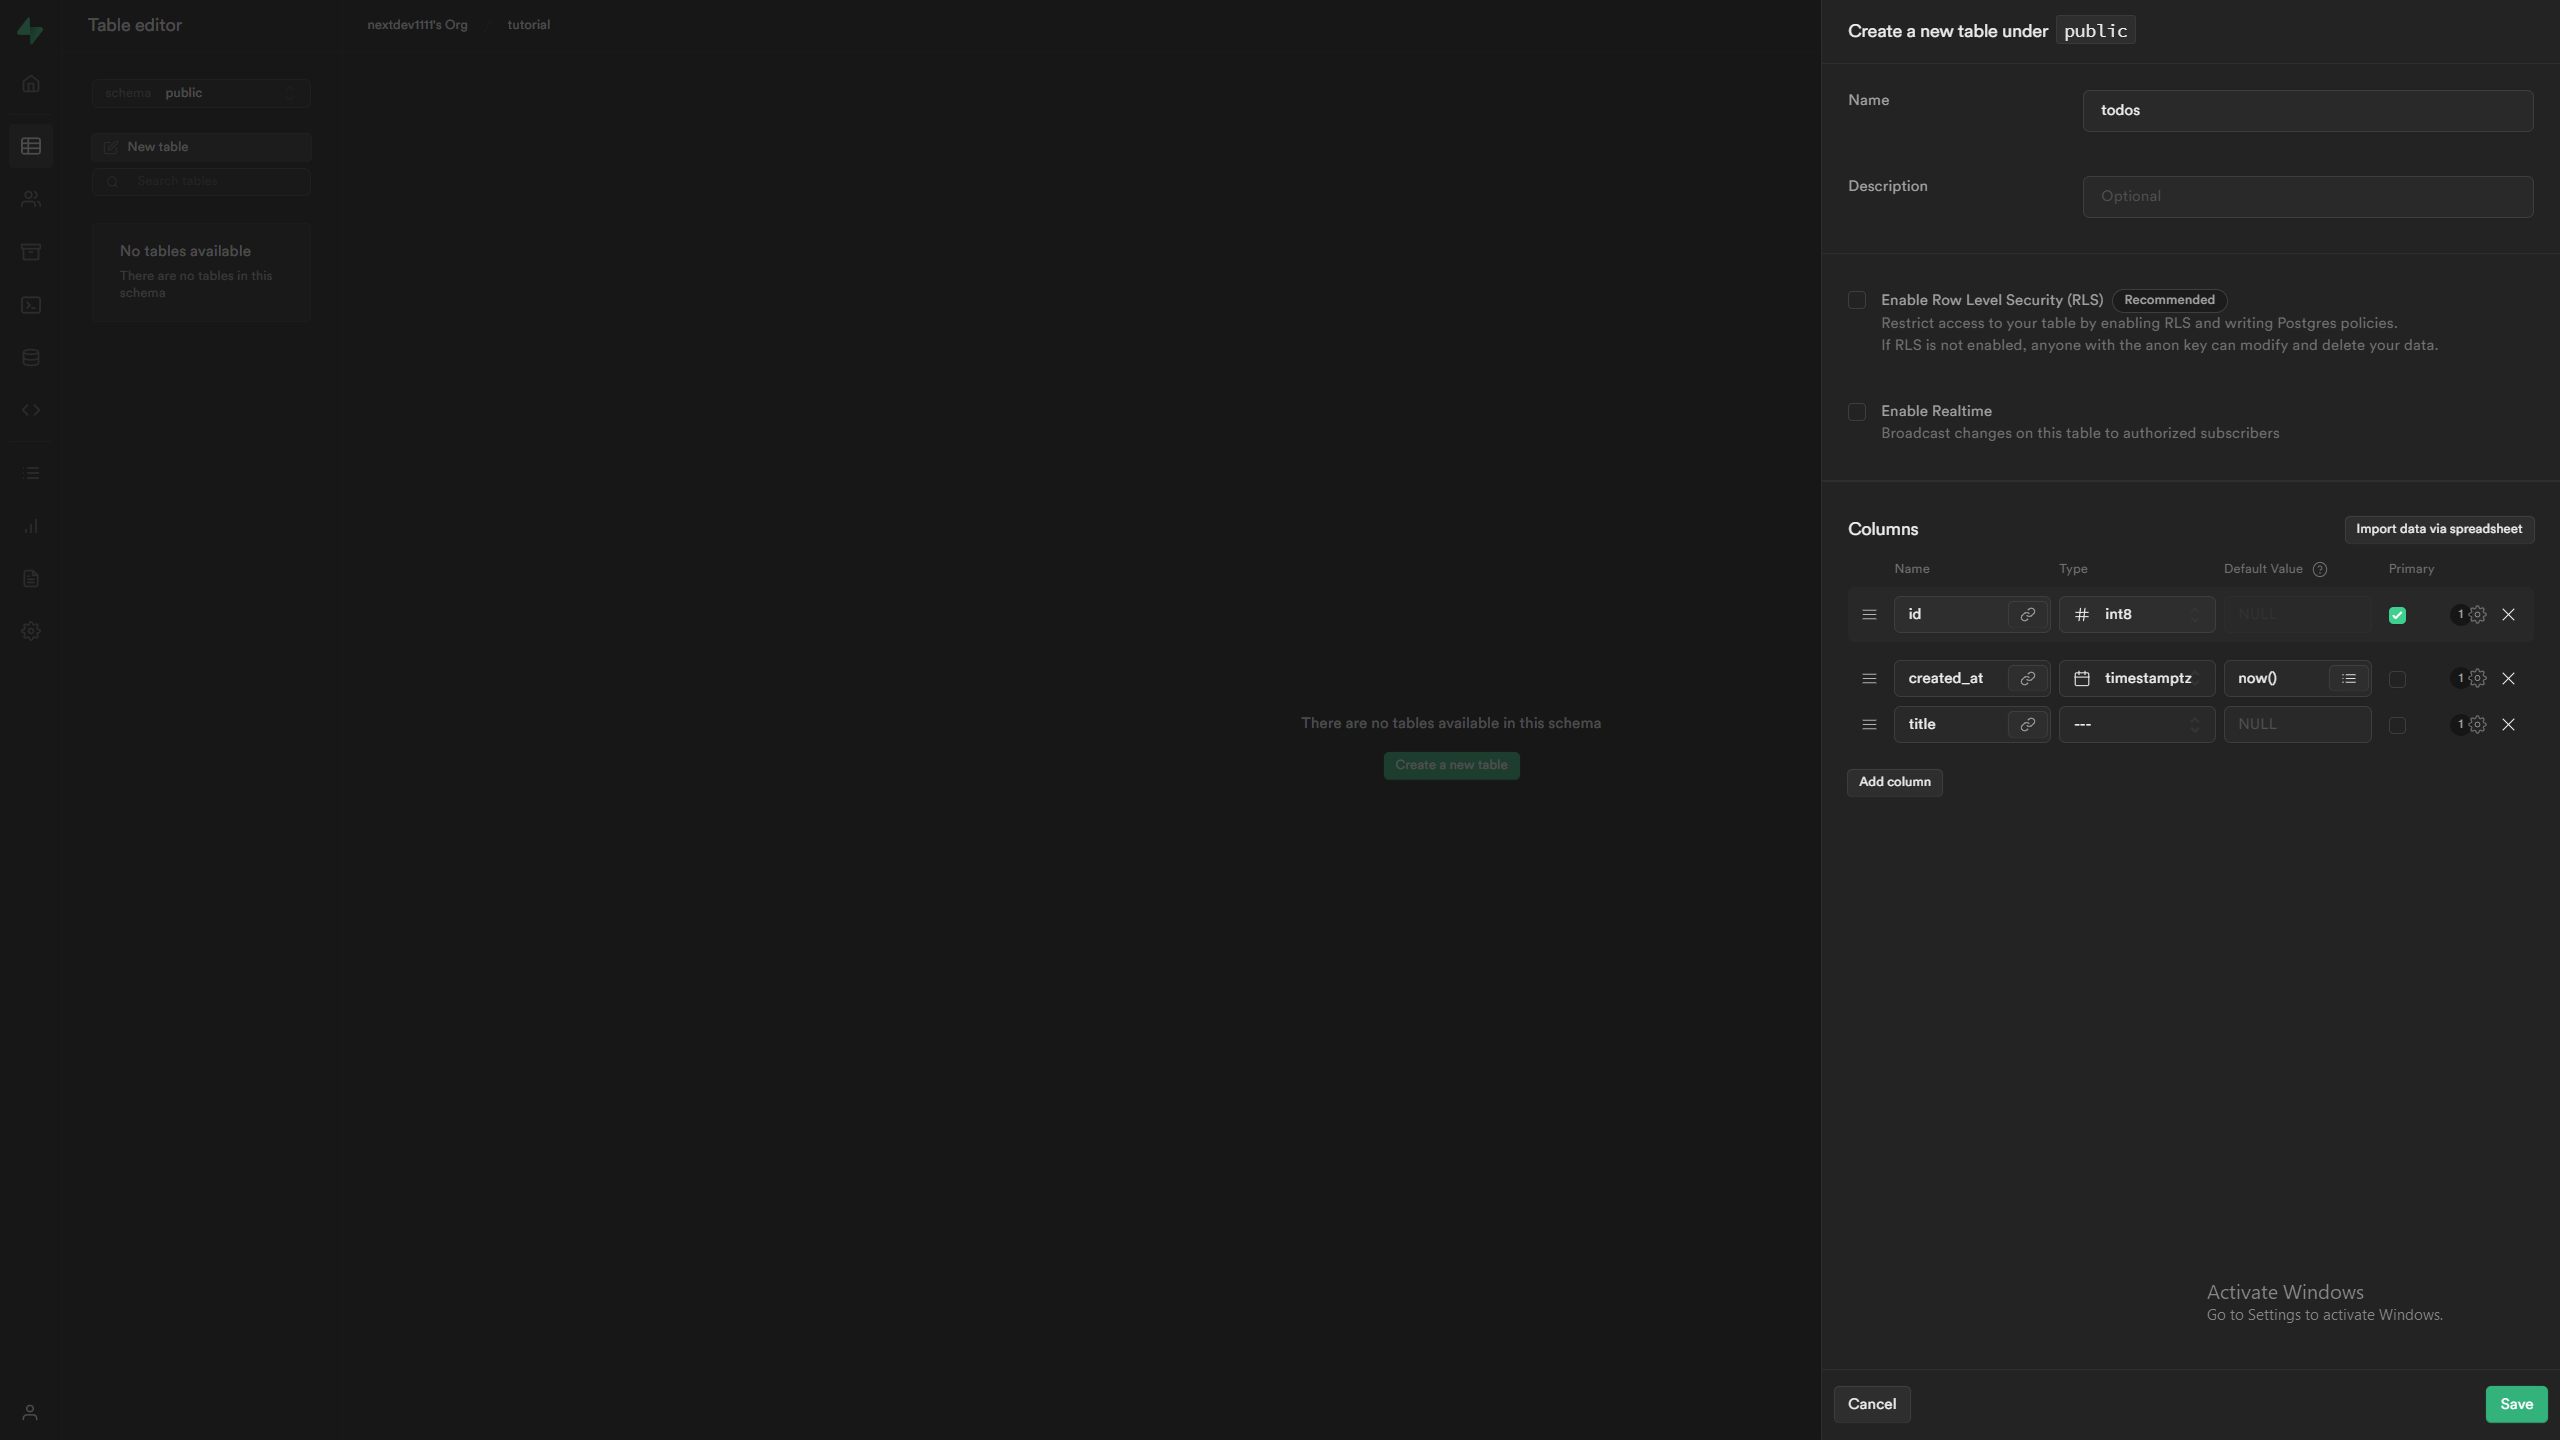
First, we need to insert data in supabase
Now, let’s go to main.dart
import 'package:flutter/material.dart';
import 'package:flutter_dotenv/flutter_dotenv.dart';
import 'package:flutter_supabase_yt_1/provider/supabase_manager.dart';
import 'package:supabase_flutter/supabase_flutter.dart';

Future<void> main() async {
  WidgetsFlutterBinding.ensureInitialized();

// load env
  await dotenv.load();

// initialise the app

  String supabaseBaseUrl = dotenv.env['SUPABASE_BASE_URL'] ?? '';
  String supabaseBaseKey = dotenv.env['SUPABASE_BASE_KEY'] ?? '';

  await Supabase.initialize(url: supabaseBaseUrl, anonKey: supabaseBaseKey);

  runApp(const MyApp());
}

class MyApp extends StatelessWidget {
  const MyApp({Key? key}) : super(key: key);

  // This widget is the root of your application.
  @override
  Widget build(BuildContext context) {
    return MaterialApp(
      title: 'Flutter Demo',
      theme: ThemeData(
        // This is the theme of your application.
        //
        // Try running your application with "flutter run". You'll see the
        // application has a blue toolbar. Then, without quitting the app, try
        // changing the primarySwatch below to Colors.green and then invoke
        // "hot reload" (press "r" in the console where you ran "flutter run",
        // or simply save your changes to "hot reload" in a Flutter IDE).
        // Notice that the counter didn't reset back to zero; the application
        // is not restarted.
        primarySwatch: Colors.blue,
      ),
      home: const HomePage(),
    );
  }
}

class HomePage extends StatefulWidget {
  const HomePage({Key? key}) : super(key: key);

  @override
  State<HomePage> createState() => _HomePageState();
}


// this class will help us to fetch data and you can add more functions in this class.
class SupabaseManager {
  Future readData() async {
    PostgrestResponse<dynamic> res =
        await Supabase.instance.client.from('todos').select('*').execute();

    if (res.error != null) {
      return {'error': res.error!.message};
    }

    return res.toJson()['data'];
  }
}


class _HomePageState extends State<HomePage> {
  SupabaseManager supabaseManager = SupabaseManager();

  @override
  void initState() {
    super.initState();
    readData();
  }

  readData() async {
    var todos = await supabaseManager.readData();
    print(todos);
  }

  @override
  Widget build(BuildContext context) {
    return Scaffold(
        body: Center(
      child: TextButton(
        child: Text('Hello'),
        onPressed: () {},
      ),
    ));
  }
}
Now, you can test it. By the way, initState() is for doing things when the page loads in the app. In simple words, anything in the initState will run at the moment the screen widget loads.
If you face any issues, feel free to ask here 👇 https://discord.gg/hN4Wc5VR4M


