How to use supabase storage (upload file) easily and quickly 🚀.

Welcome friends 👋 to this new blog post where I will tell you how to upload files to supabase storage. This will be an easy and quick thing to do.
Step1: Setup supabase client in your framework. (I am using Nextjs here).
Step2: Make an input for accepting files. (For styling I am using tailwindcss).
import type { NextPage } from "next";
import { ChangeEvent } from "react";
import supabase from "../utils/supabase";

const Home: NextPage = () => {

  return (
    <div className="flex min-h-screen flex-col items-center justify-center py-2">

      <input
        type="file"
        accept="image/*"
        className="block w-auto text-sm text-gray-900 bg-gray-50 rounded-lg border border-gray-300 cursor-pointer dark:text-gray-400 focus:outline-none dark:bg-gray-700 dark:border-gray-600 dark:placeholder-gray-400"
        id="file_input"
      />
    </div>
  );
};

export default Home;
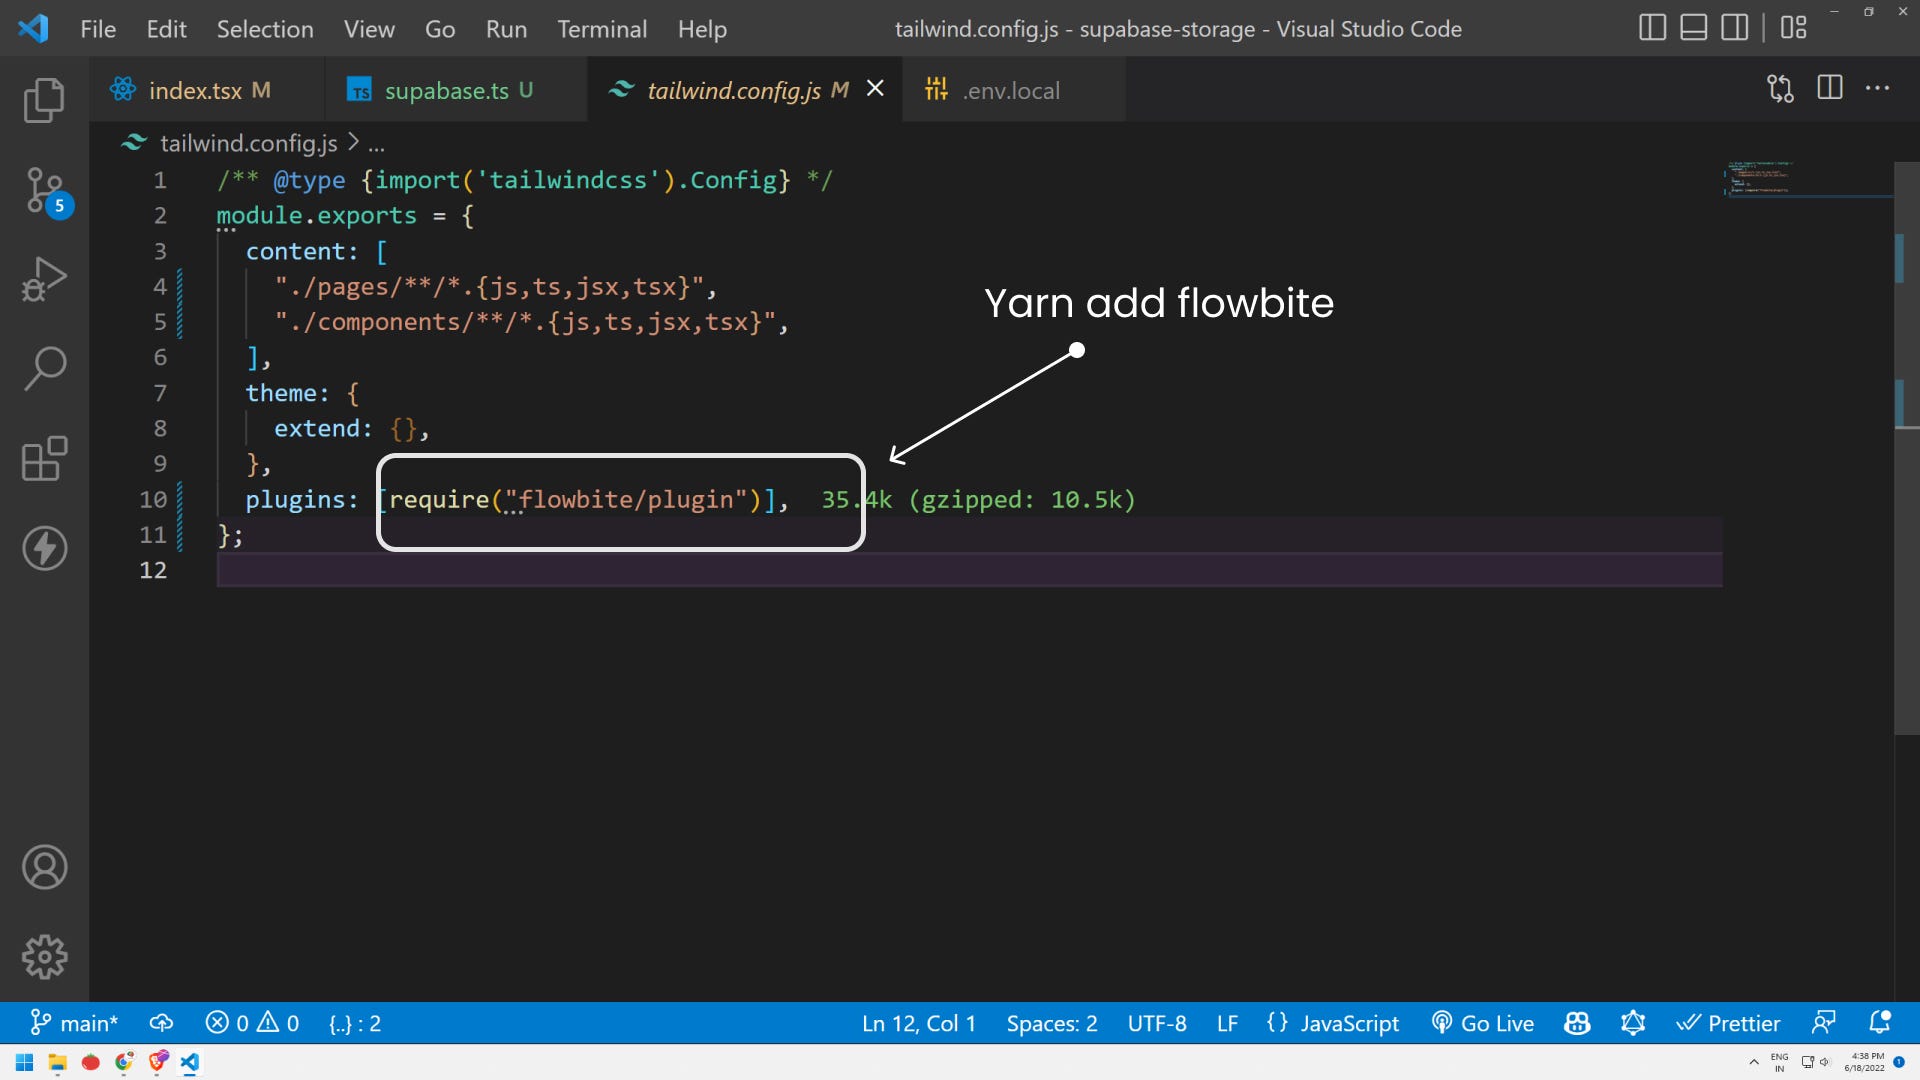
yarn add flowbite
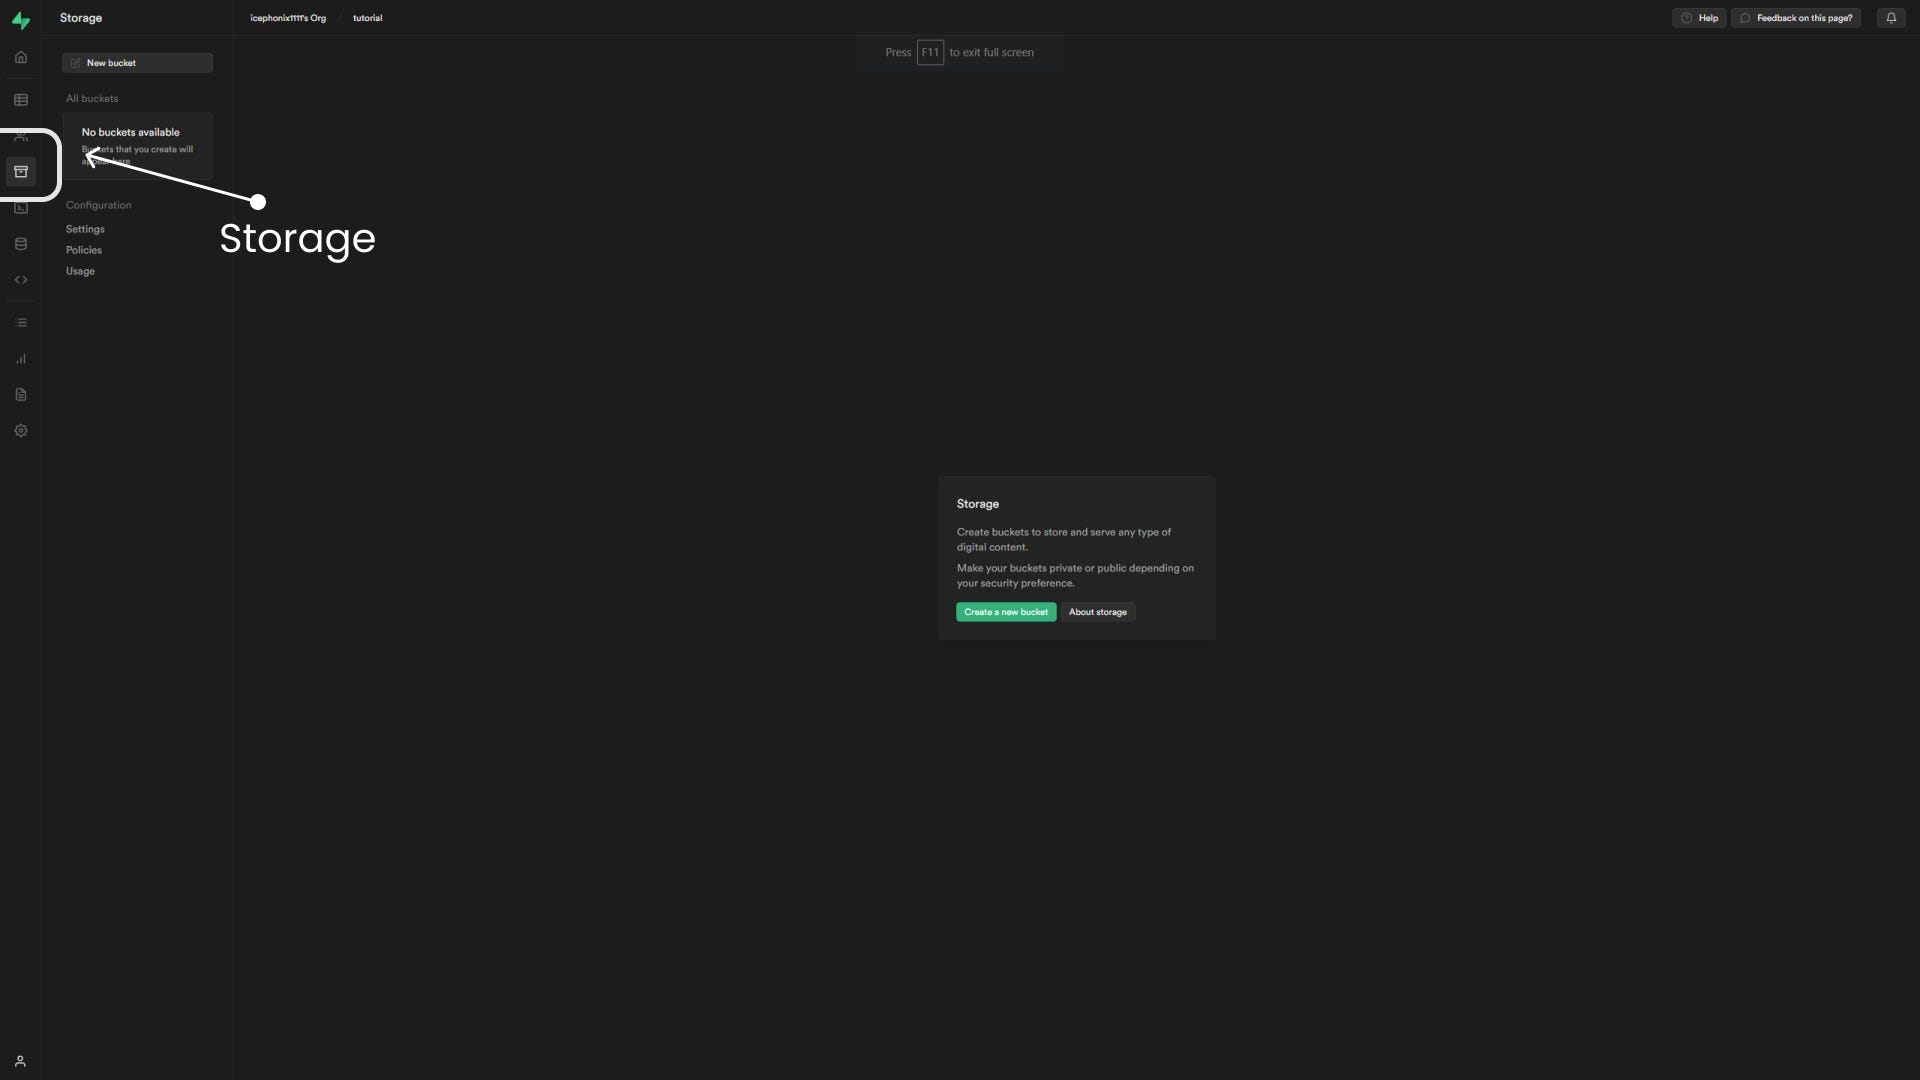
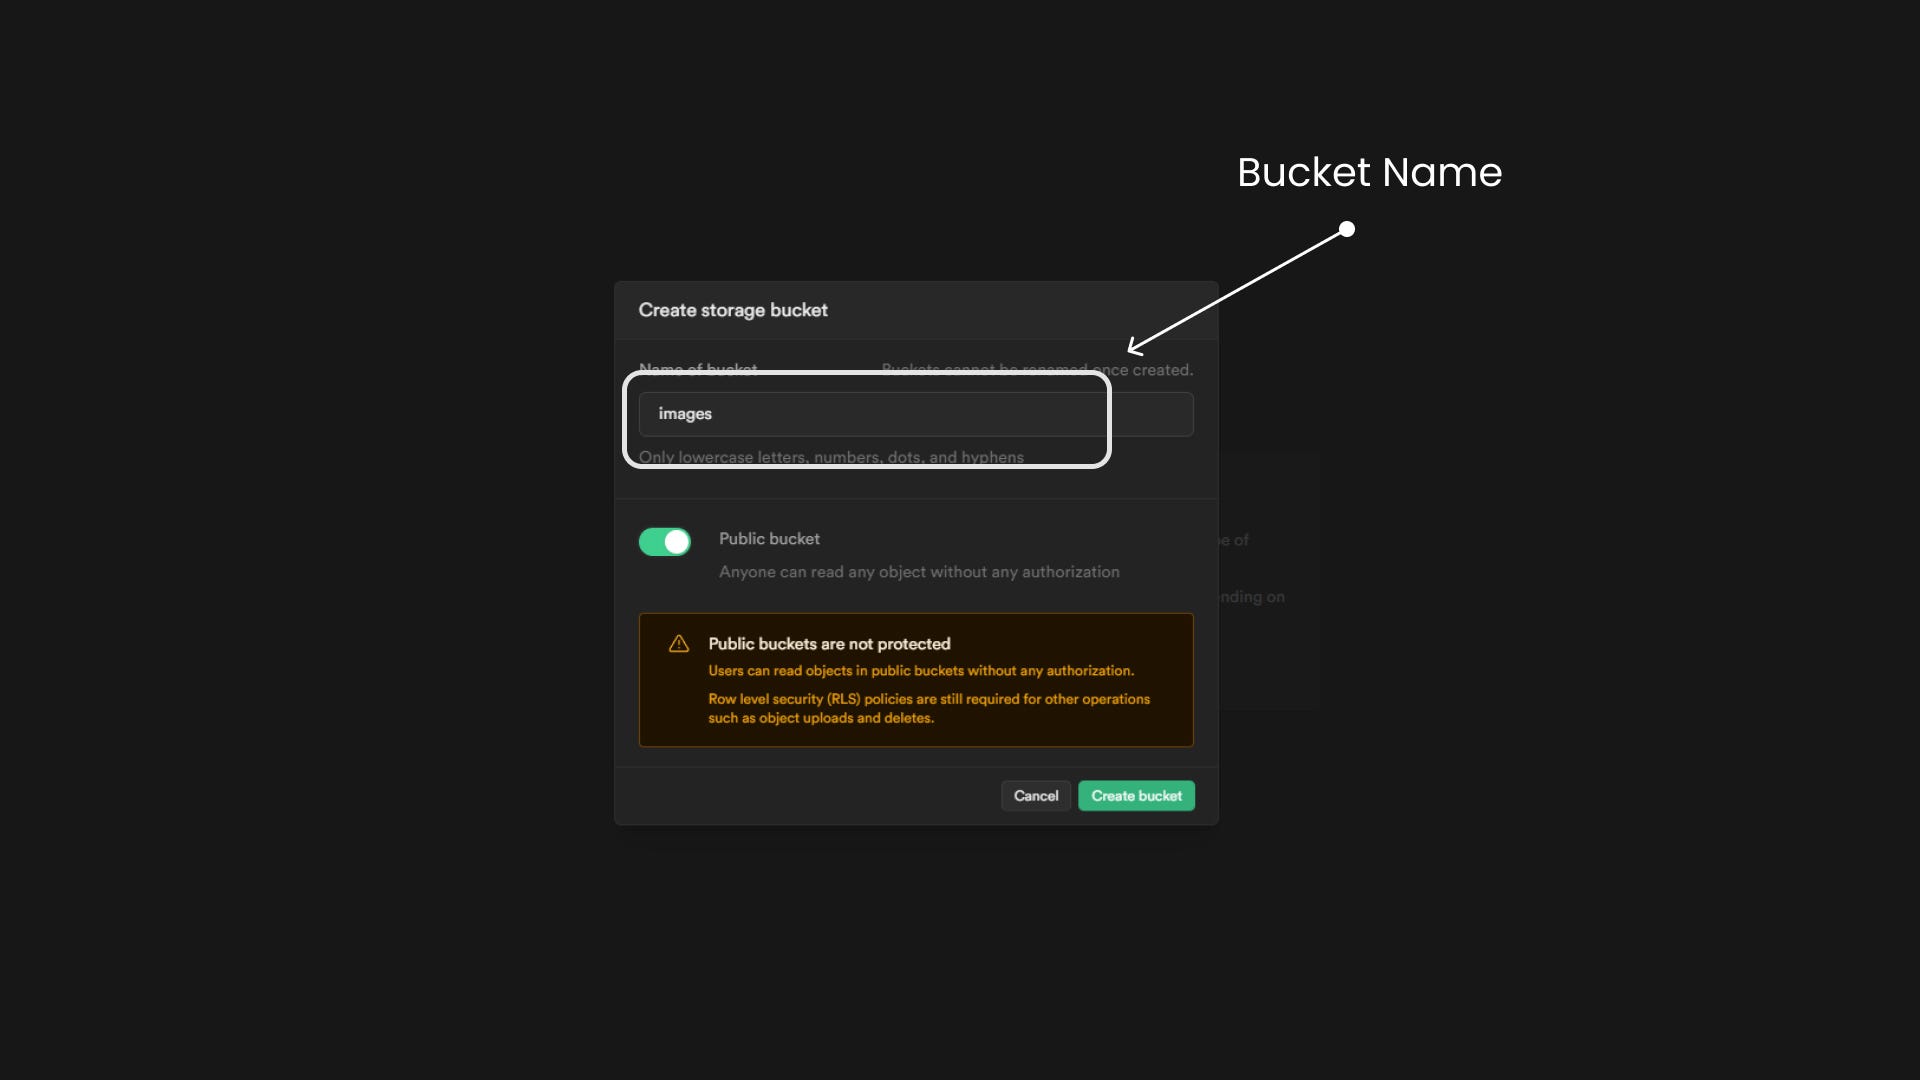
Step3: Make a bucket in your supabase.
Step4: Make a function for uploading files:
Note 👉 Supabase upload functions take two arguments:
Path to the image (This is similar to how your file explorer works). It uses a path for locating things. This means you cannot upload an image twice with the same path.
File
import type { NextPage } from "next";
import { ChangeEvent } from "react";
import supabase from "../utils/supabase";

const Home: NextPage = () => {
  const handleUpload = async (e: ChangeEvent<HTMLInputElement>) => {
    let file;

    if (e.target.files) {
      file = e.target.files[0];
    }

    const { data, error } = await supabase.storage
      .from("images")
      .upload("public/" + file?.name, file as File);

    if (data) {
      console.log(data);
    } else if (error) {
      console.log(error);
    }
  };

    // We have implemented onChange in input 👇

  return (
    <div className="flex min-h-screen flex-col items-center justify-center py-2">


      <input
        type="file"
        accept="image/*"
        className="block w-auto text-sm text-gray-900 bg-gray-50 rounded-lg border border-gray-300 cursor-pointer dark:text-gray-400 focus:outline-none dark:bg-gray-700 dark:border-gray-600 dark:placeholder-gray-400"
        id="file_input"
        onChange={(e) => {
          handleUpload(e); // 👈 this will trigger when user selects the file.
        }}
      />
    </div>
  );
};

export default Home;
⛔ERROR

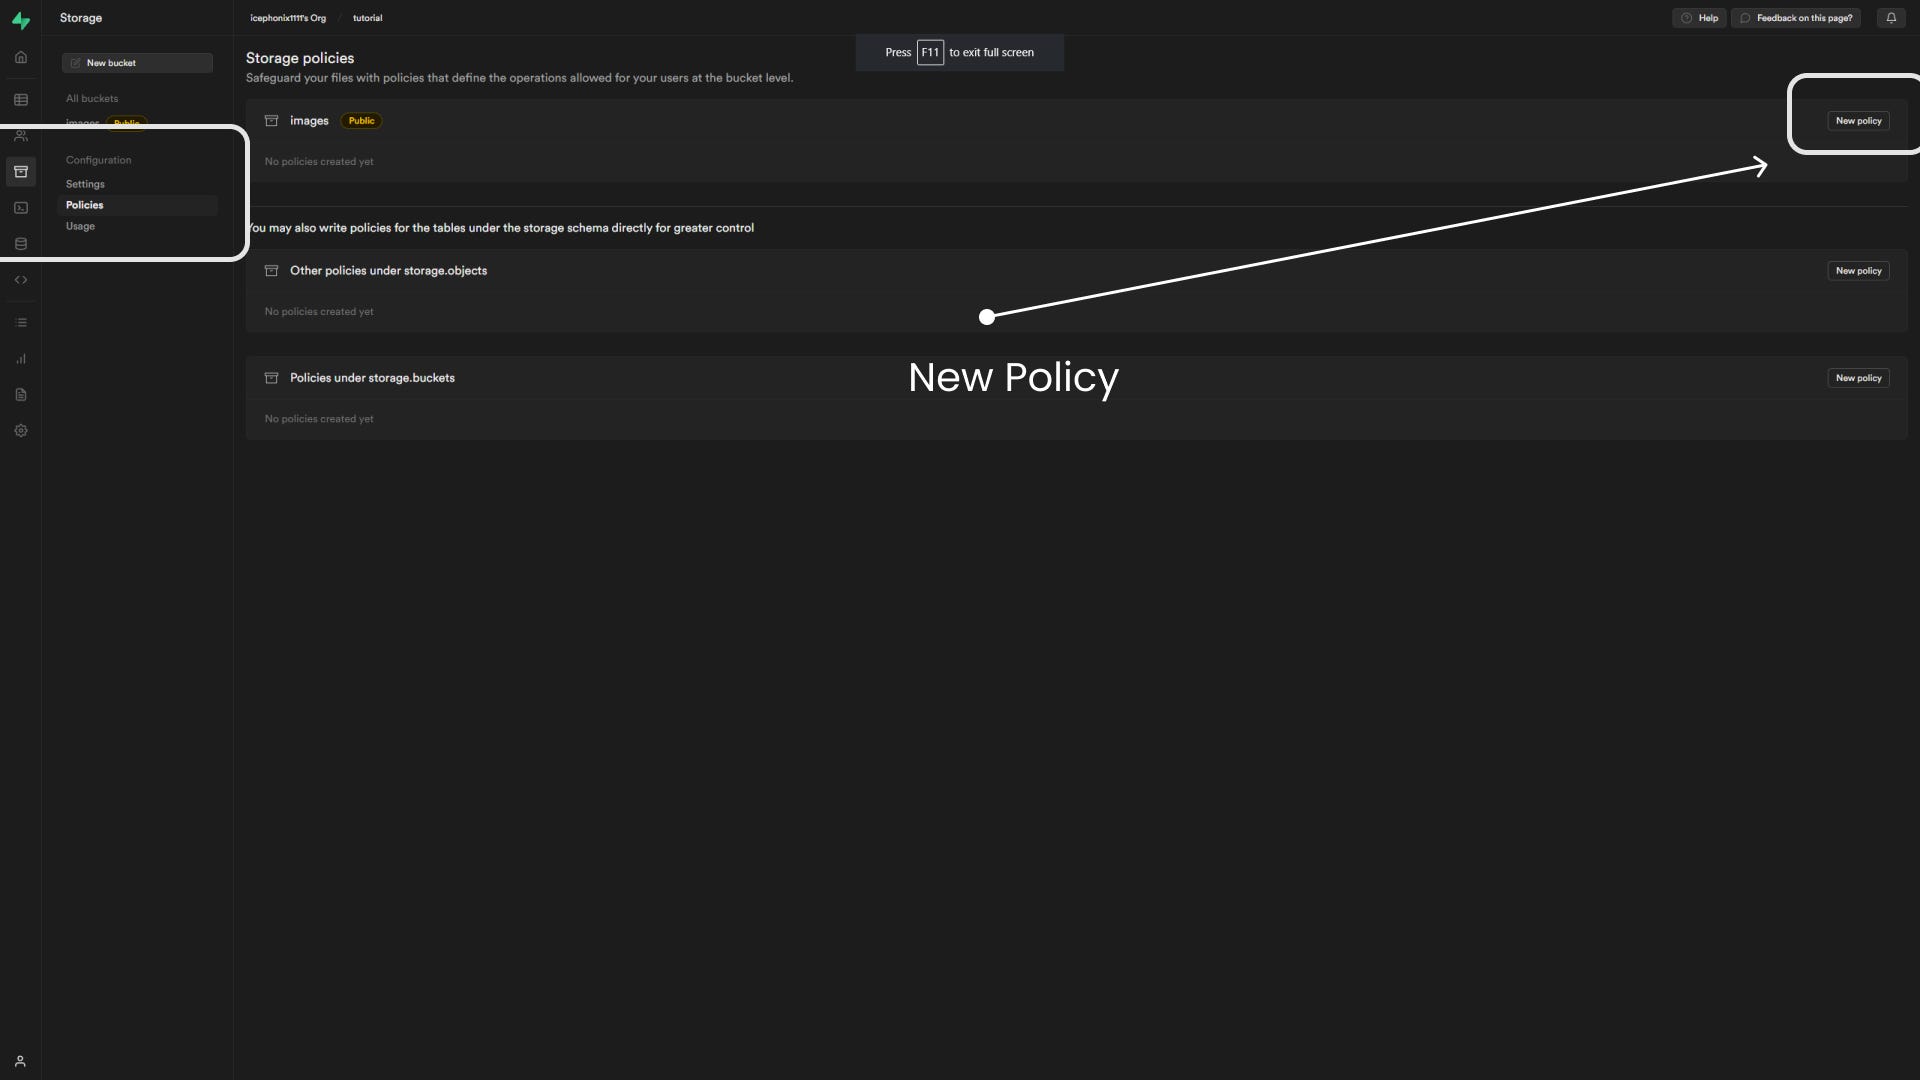
Now, you need to go to supabase storage again.
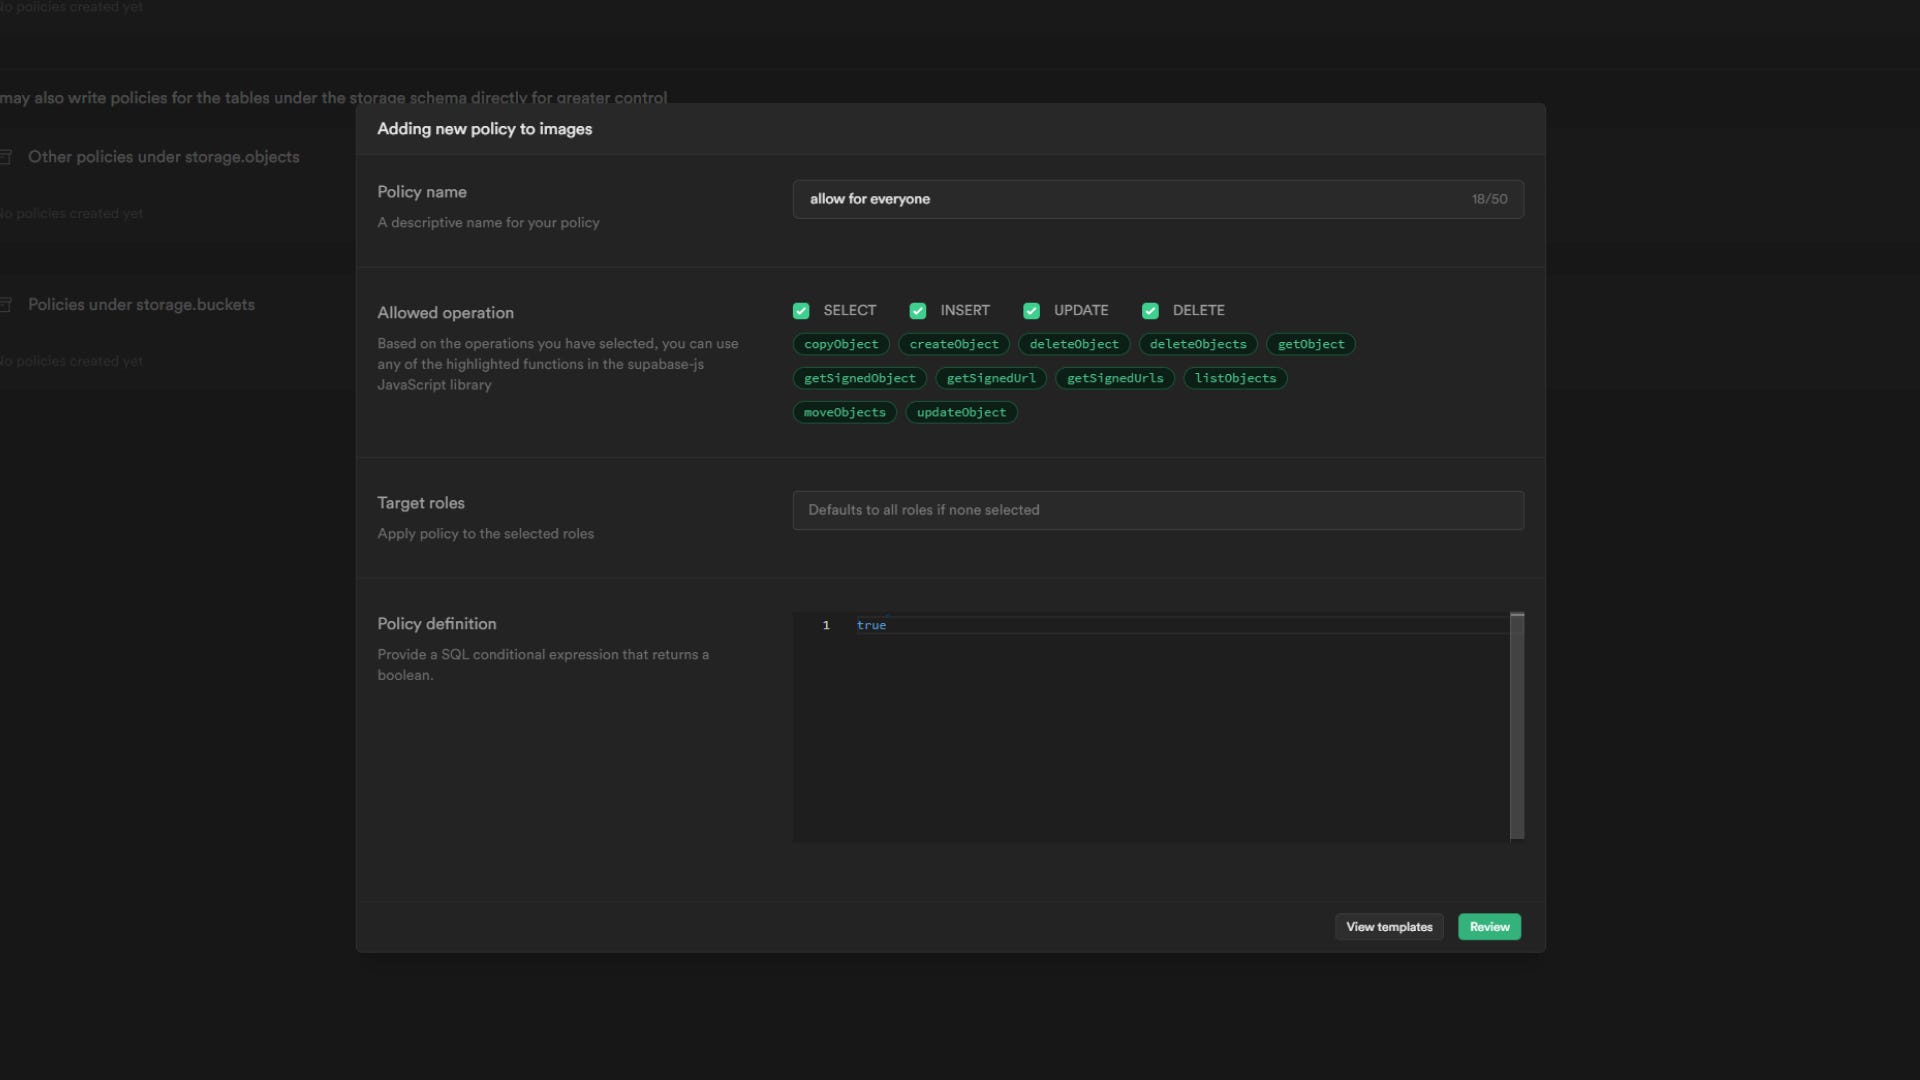

Now, you can try again:
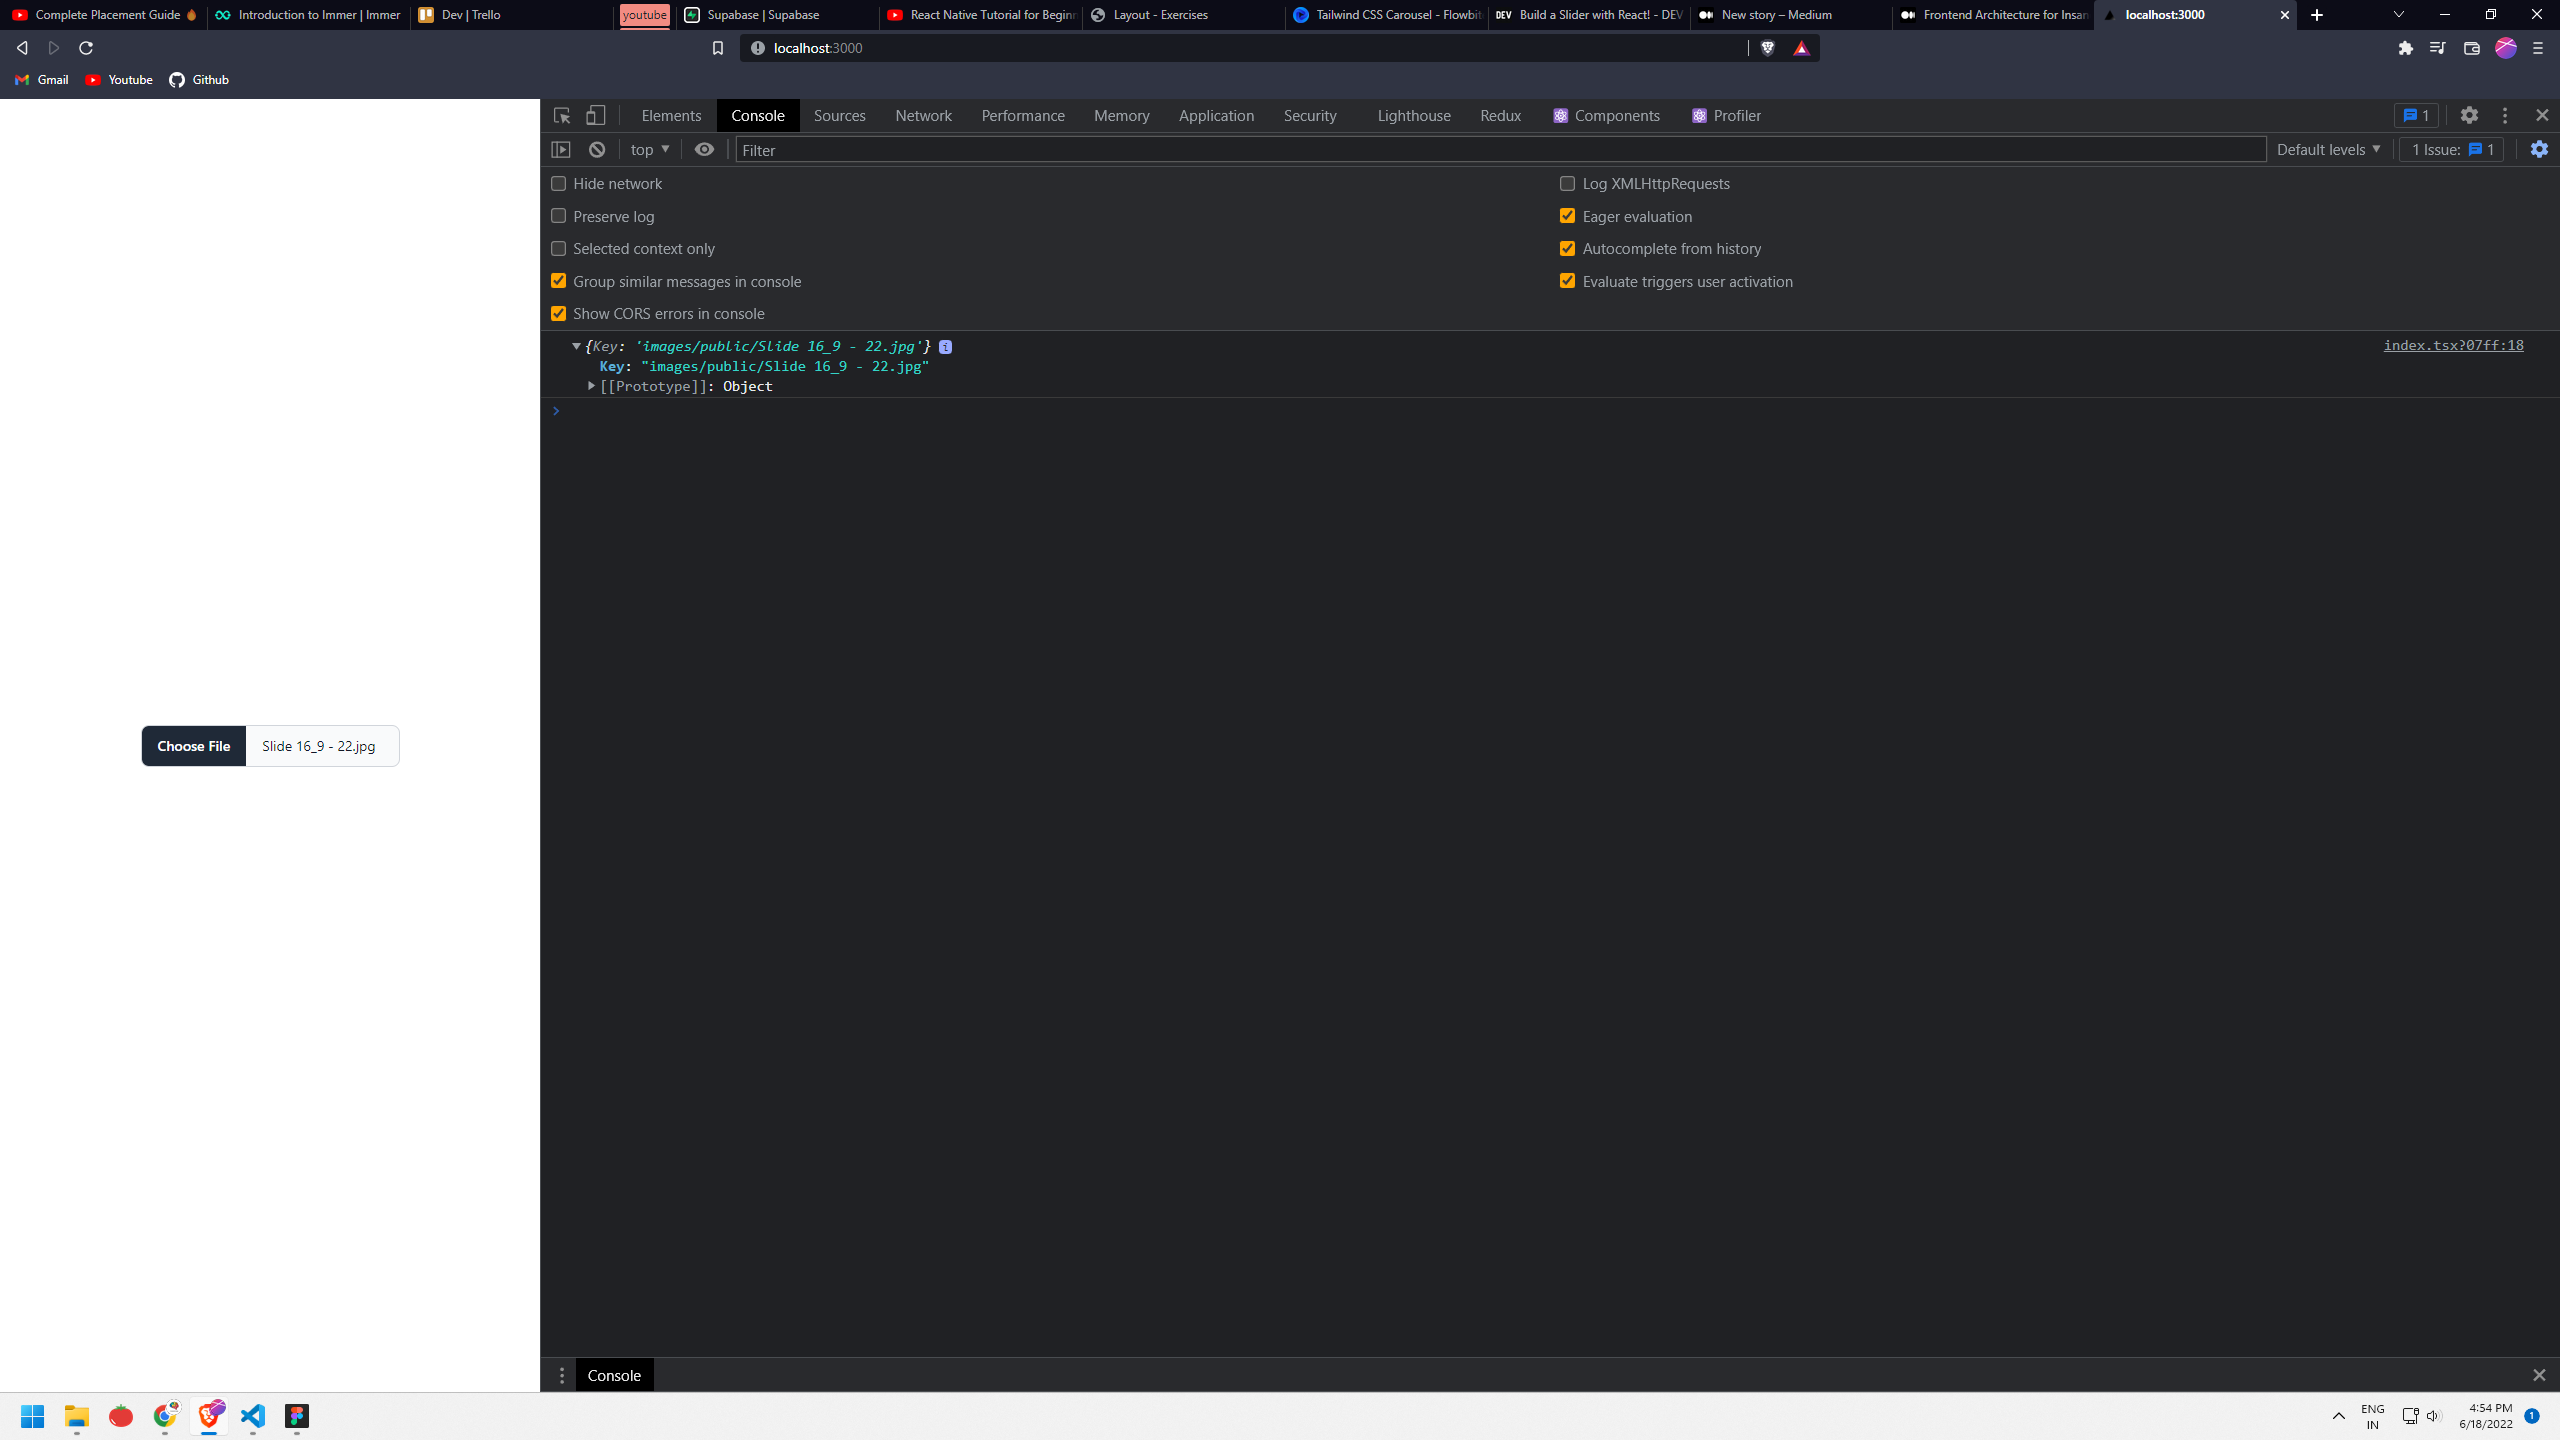
🖼️Image
Now if you want to locate images. Go to supabase:
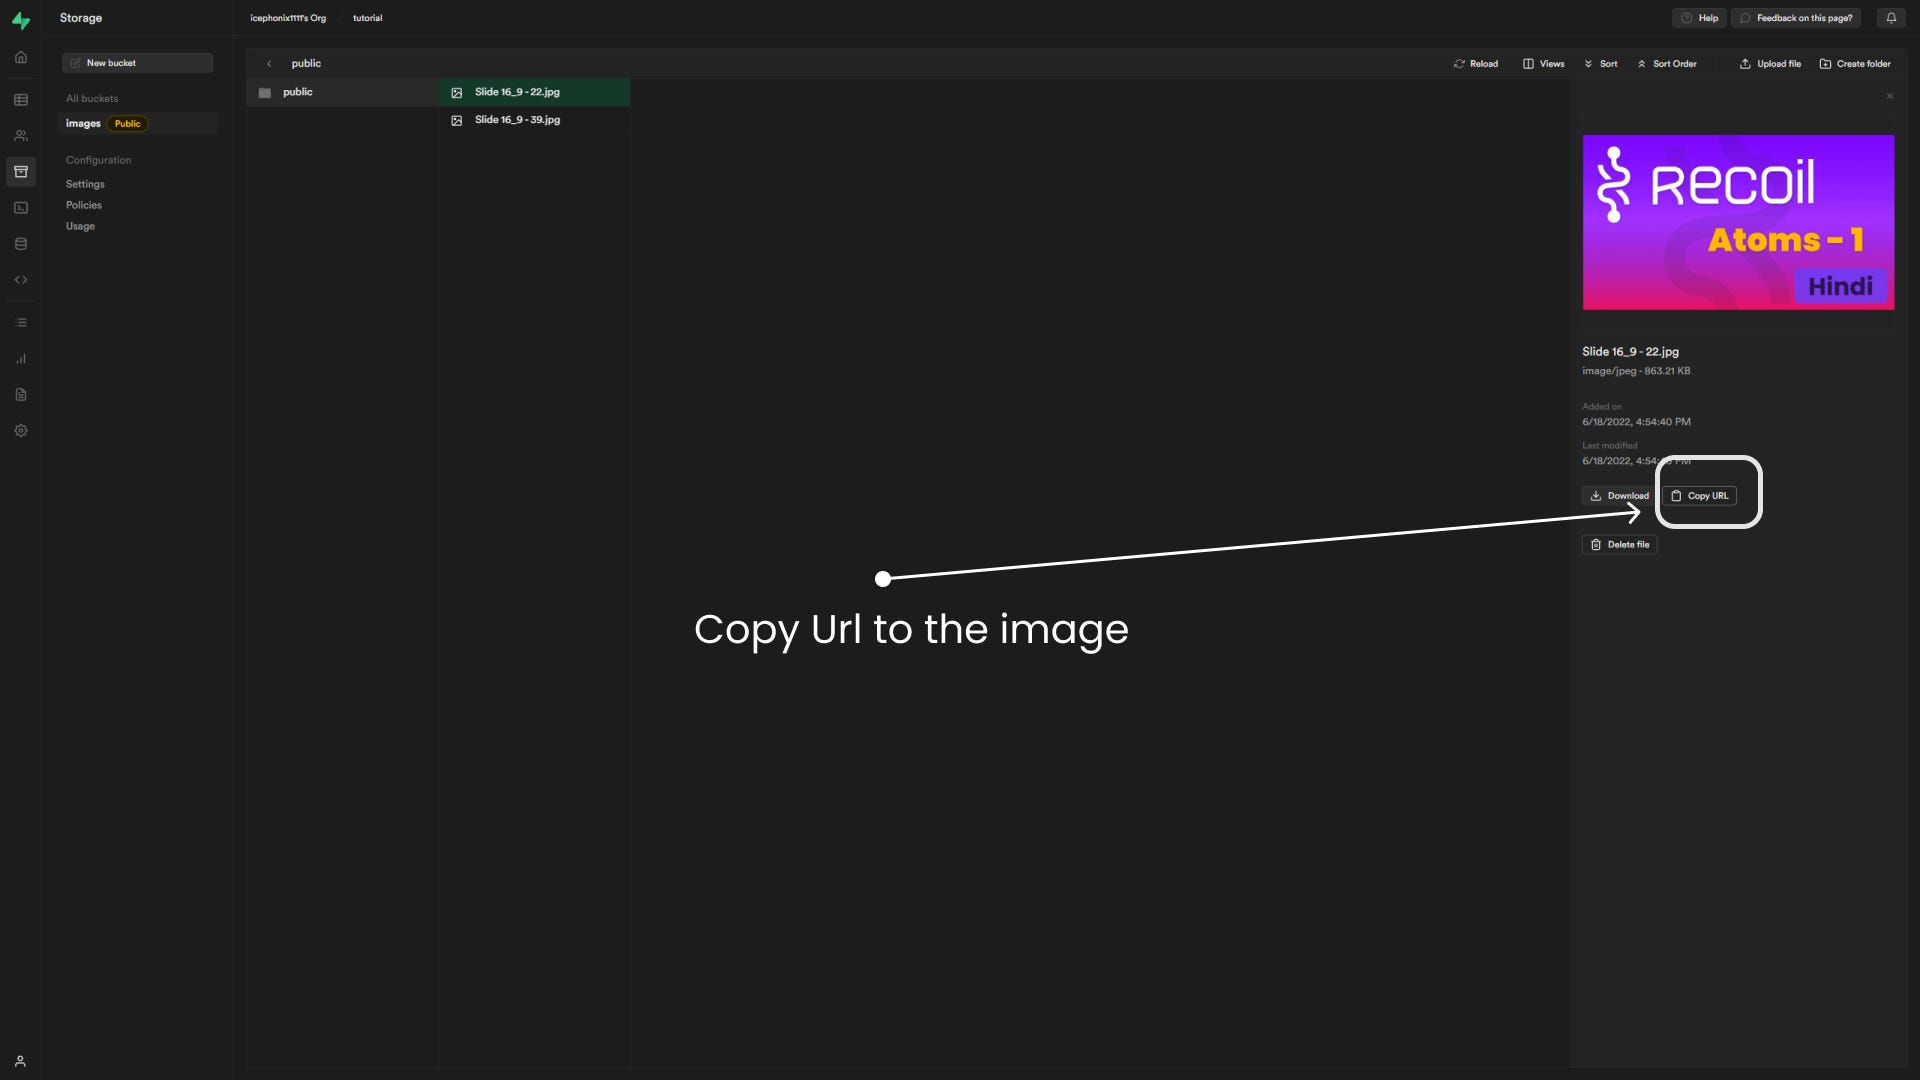

💡Situation
If you want to load images on your website. You can use this
<img src="[supabase_url]/storage/v1/object/public/[bucket name]/[path to your image]" />
If you want to learn full-stack development, then you can join Discord Channel: Join the Next Dev's server Discord Server!
For people who understand Hindi: https://youtu.be/yLdOpLk7bsI


